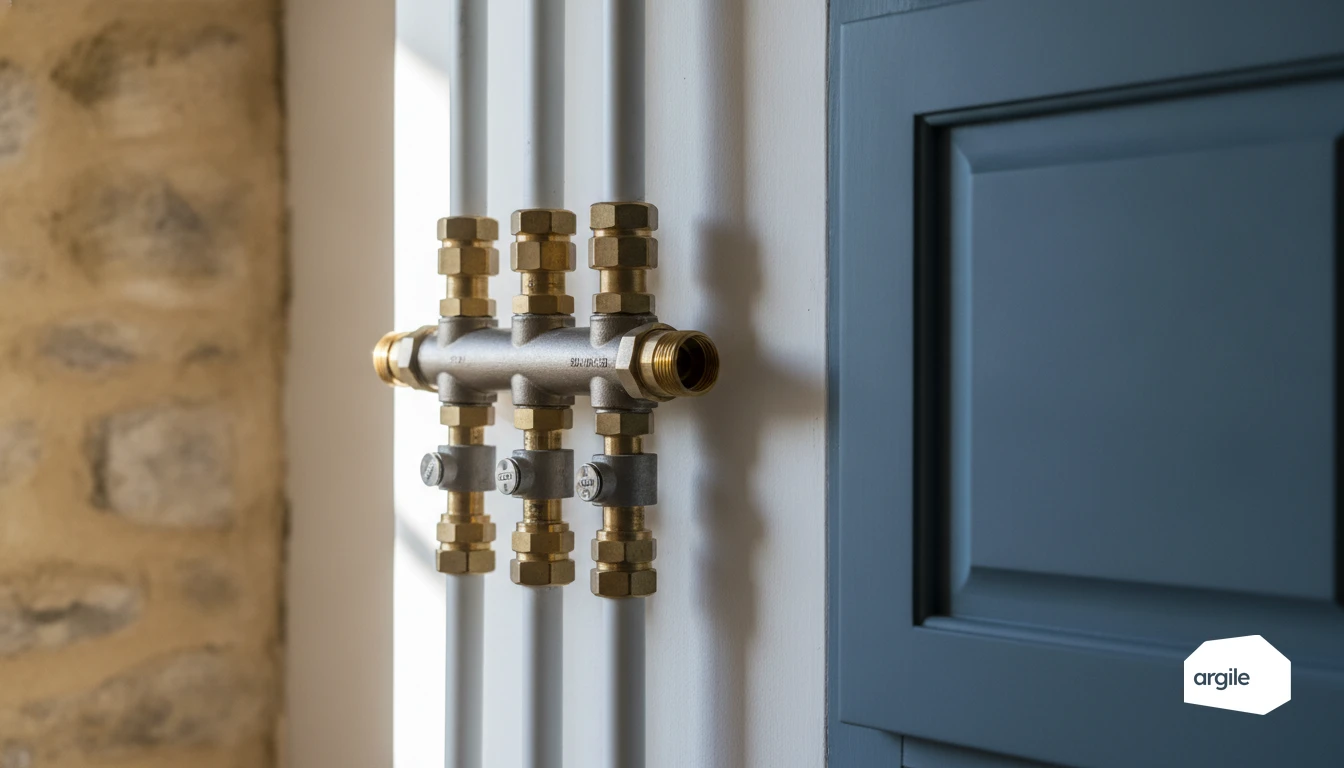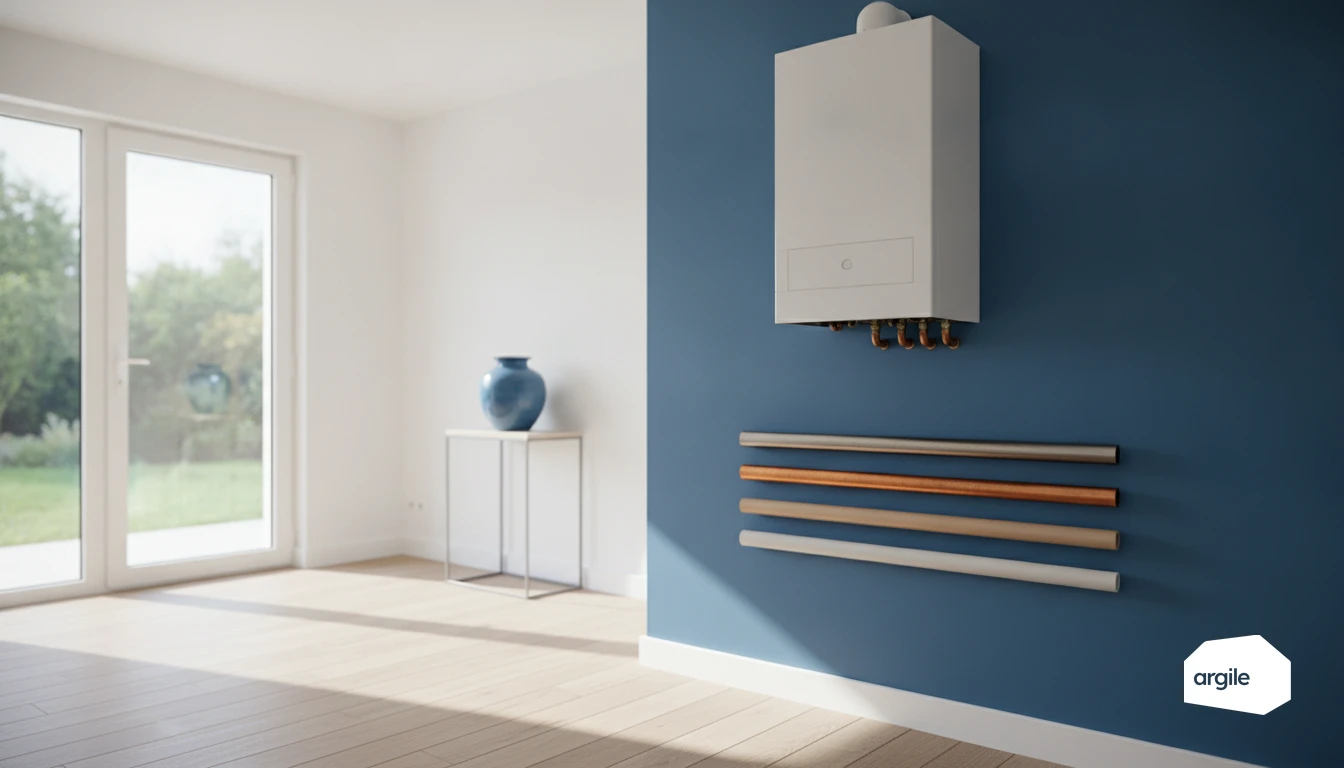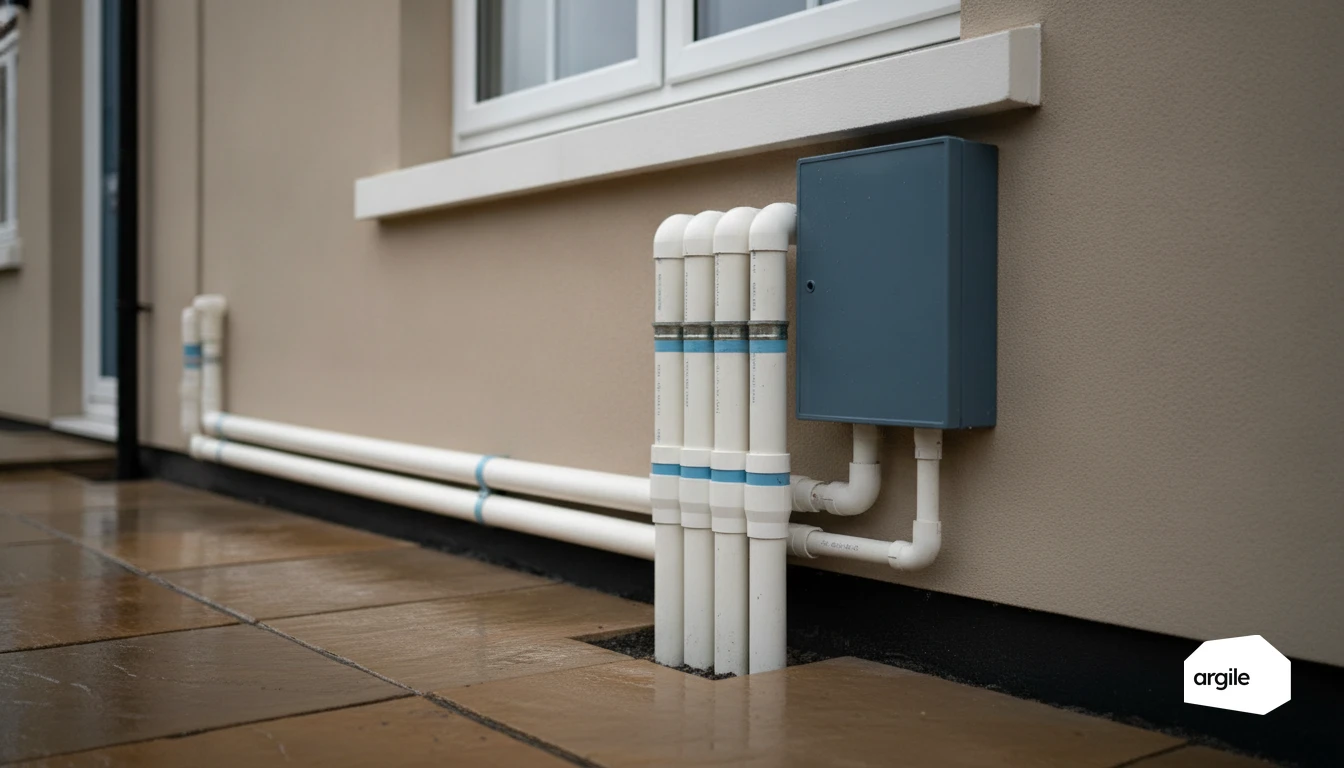
Thermal movement is what really separates multilayer pipe from a plain plastic one. The aluminium core brings the coefficient of linear expansion down to 0.026 mm/m·K, against 0.15 for PEX, which means 13 mm of movement over a 10 m run for a 50 °C swing where PEX, HDPE or PPR would take 60 to 90 mm. That figure, not the flexibility of the coil, is what allows clean surface runs, wider bracket spacing and no systematic expansion loop. Manufacturers' data also rates PE-X/aluminium/PE-X at 95 °C and 10 bar in service, with a thermal conductivity of 0.43 W/m·K and an internal roughness of 0.007 mm.
Understanding multilayer pipe and its uses
What is a multilayer tube (PEX/aluminium/PEX) made of?
A multilayer tube is a technical "sandwich". Inside, a layer of PEX (cross-linked polyethylene) guides the water. In the middle, a welded aluminium sheet acts as an oxygen barrier and limits expansion. On the outside, a second PEX layer protects the tube. Adhesive layers ensure cohesion. The result is a stable, durable tube.
Where multilayer pipe is most relevant: plumbing, heating, renovation
It performs very well in plumbing (cold and hot water) and heating (radiators, manifolds, sometimes underfloor heating depending on the system). In renovation, its shape retention and flexibility make routing through ducts and linings easier, with fewer hidden fittings. You save time while keeping a clean installation. A real plus for occupied job sites.
Multilayer vs. copper vs. PEX: how to choose based on the job
Copper if you want a rigid, exposed, highly resistant network, with brazing. PEX if you want something very economical and fast, but with more expansion and less shape retention. Multilayer sits between the two. It combines bendability, dimensional stability and crimp fittings, practical when the schedule is tight. The choice is mainly guided by accessibility and budget.
Concrete advantages of multilayer pipe for your installations
Speed of installation: bending, lengths, fewer brazed joints
Multilayer pipe bends easily by hand or with a bending spring. You can pull long coils, which limits the number of fittings. With crimp fittings, you avoid most brazing. The end result is time saved on marking out, installation and rework.
Reliability and durability: pressure resistance, expansion, oxygen barrier
Its aluminium layer stabilises the tube. Expansion is lower than with a simple plastic tube. Multilayer pipe includes an oxygen barrier useful in heating to limit sludge build-up and corrosion. Fewer joints also means fewer leaks over time, provided the crimping rules are followed.
Finish quality: exposed installation, discretion and site cleanliness
Exposed, it holds its alignment well and takes clean curves. No flame, so fewer marks on walls and a cleaner site. Clips and trunking install quickly, and the whole assembly stays unobtrusive in living spaces.
Installing multilayer pipe: installation methods and points of attention
Preparing the network: sizing, routing, marking and support
Before installing multilayer pipe, confirm the correct diameter based on flow rates and lengths. Plan the route, limit bends, and clearly mark cold water, hot water and returns. Plan for regular support with suitable clips, without crushing the tube, and leave some slack for expansion. At wall penetrations, protect with sleeves.
Crimp, push-fit or compression fittings: which to favour and why
In renovation, the crimp multilayer fitting is often the simplest. It's fast, repeatable, and limits the risk of loosening. Push-fit also offers good security, but requires dedicated tooling. Compression fittings remain practical for repairs or exposed installations, provided they stay accessible for inspection and rework.
Common mistakes to avoid: cutting, calibrating/deburring, bending, crimping
Cut square with a pipe cutter, then do a clean calibration and internal deburring so you don't damage the seals. When bending, respect the minimum radius, use a bending spring or bender, and replace any tube that's marked or kinked. When crimping, check the jaw profile, insertion to the stop, and run a pressure test before closing up.
Multilayer pipe costs in 2026: materials, labour and margins
Tube and fitting prices: what makes the bill vary
In 2026, multilayer pipe is priced mainly by cost per metre and fitting type. In coil form, a 16 or 20 mm tube is often more economical than in straight lengths. Crimp fittings cost more than compression fittings, but they save time. Brass, PPSU, brand, diameter, and site accessibility all make the bill vary.
Tools and consumables: crimping tool, jaws, calibrator, sleeves
For a clean installation, the professional tool weighs on the budget. A crimping tool (with batteries) and its jaws for different profiles, plus a calibrator/reamer, a pipe cutter and rings. Add sleeves, clips, protections, and sometimes wall-penetration sleeves.
Quote estimation: pricing a multilayer installation per metre and per point
To price quickly, count a line item per metre (tubes, sleeves, clips) then a cost per point (supply, bend, tap-off, valve). Installation time depends on rework, chasing, access and tests. Finish with your fixed costs and a consistent margin, rather than "absorbing" the job. Those lines are added to the quote from a plumbing works library, topped up with free-text items.
Compliance, good practices and warranties on multilayer pipework
DTU, technical approvals and rules of the trade: points to check before installing
Before installing a multilayer network, check that the tube-and-fitting pairing is designed for the intended use (domestic hot water, heating) and installed according to a recognised standard. In both single-family and multi-unit housing, rely on the NF DTU plumbing standards (series 60) and heating standards (series 65). If the configuration falls outside "typical cases" (embedding, screed, sensitive penetrations), check the manufacturer's technical approval or DTA. Also check the pressure-temperature class, the compatible crimping profile, the bending radius, the fixings and expansion management.
Tests and checks: pressure test, flushing, commissioning
Carry out the checks before closing up. The pressure test is done with water, following the DTU and the manufacturer's instructions (duration, pressure, stabilisation). Then flush to remove shavings and debris. At commissioning, bleed the air, check flow rates, balancing and the absence of noise. On heating systems, check temperatures and only retighten if the manufacturer allows it.
Traceability and after-sales: markings, photos, reservations and client warranties
Peace of mind also comes from good record-keeping. Keep the markings (manufacturer, diameter, batch), note the fitting references, and archive site photos before lining or screed. Hand over a test report, the instructions, and note any reservations. On the warranty side, clarify what falls under the manufacturer (products) and your insurance (defects on embedded networks).