When thermal corrective plaster is the right answer in historic buildings (external insulation prohibited)
Typical situations in 2026: protected façades, property lines, co-ownership, PLU/ABF constraints
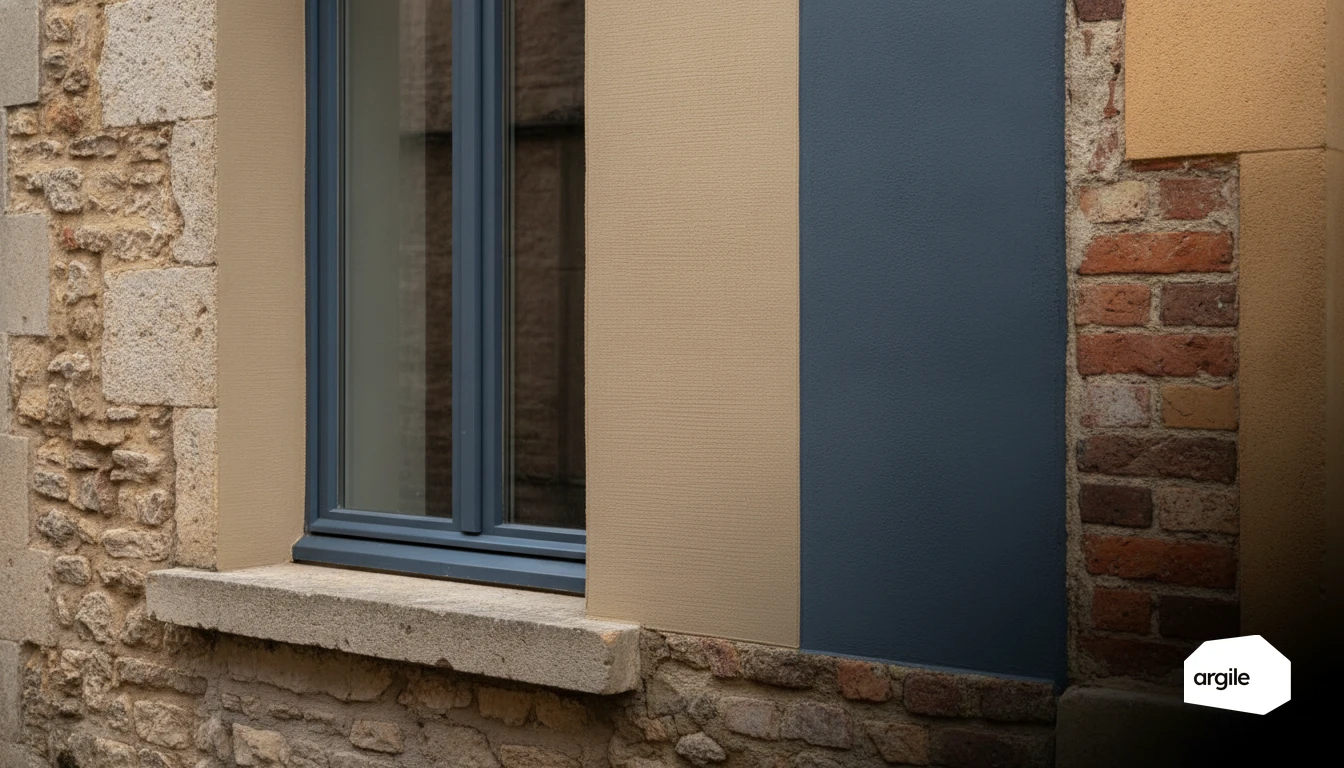
You use thermal corrective plaster when external wall insulation is refused or impractical. Typically: protected façades (listed building, remarkable heritage site), street alignment, shared boundaries, or co-ownership constraints. On the approval side, an ABF opinion may also require the retention of mouldings and overhangs.
Real goal: improve touch comfort and reduce the “cold-wall” effect
| Parameter | Order of magnitude | Unit |
|---|---|---|
| Target additional thermal resistance | 0.5 to 1.0 | m².K/W |
The aim is not to “provide insulation”. You are targeting a limited R value, but one that is enough to raise the surface temperature and reduce contact discomfort, especially on compatible traditional masonry (stone, solid brick, lime render). In your calculation note, present it as a corrective layer, not the main insulating layer.
What you must tell the client to avoid misunderstandings and disputes
Lock the contractual message into the quote, in writing.
- Objective. Improve perceived comfort, not achieve a regulatory insulation level.
- Declared value. Target additional R value, thickness, composition, substrate and preparation.
- Watch points. Moisture management, continuity, untreated thermal bridges.
Understanding the target R value (0.5 to 1): thermal correction, not insulation
Orders of magnitude: what an R 0.5 to 1 means on an old wall
| Added R (m².K/W) | Equivalent thickness at λ 0.08 (cm) | Site reading |
|---|---|---|
| 0.5 | 4 | Noticeable reduction in cold-wall sensation |
| 1 | 8 | Stronger correction, without aiming for full insulation |
On an already poorly insulated historic wall, this resistance level remains modest. The main gains are surface temperature and radiant comfort, not “an insulated wall”.
Difference between insulation plaster and an insulation system (ITI/ETI): where thermal corrective plaster fits
| Solution | Target R (m².K/W) | Implementation logic |
|---|---|---|
| Thermal corrective plaster | 0.5 to 1 | Continuous treatment in a thin layer, compatible with historic fabric depending on the substrate |
| ITI or ETI | ≥ 3.7 | Complete system. Insulation, facings, junction details |
A plaster is a layer. ITI and ETI are systems with management of special details. That is where the performance gap is made.
Claims to avoid: energy savings, EPC, “equivalent insulation”
Do not sell it as “equivalent insulation”. At R 0.5 to 1, the effect on energy consumption and EPC is uncertain and depends on everything else. Frame it properly in the quote: theoretical R, declared λ, thickness, continuity, limitations regarding thermal bridges.
Choosing the right product family: insulating plaster vs hemp-lime plaster
On historic buildings, the goal is to treat the cold wall and thermal bridges with a thermal corrective plaster, not to oversell insulation.
Hemp-lime plaster: benefits, limits and moisture watch-outs
Hemp-lime provides thermal correction and a forgiving hygrothermal behaviour. On the downside, thickness is limited by reveals, sills and repair work. During diagnosis, check base moisture, salts, rising damp and the watertightness of the wall base. A damp substrate left untreated means a risk of defects and disputes.
Other insulating plasters: lightweight aggregates, conductivity, realistic on-site thicknesses
| Family | Typical thickness (cm) | Order of magnitude of R (m².K/W) | Site issue |
|---|---|---|---|
| Hemp-lime | 3 to 6 | 0.3 to 0.7 | Long drying time, water management |
| Lightweight plasters | 2 to 5 | 0.2 to 0.5 | Flatness, substrate cohesion |
Check the technical data sheet, especially conductivity, density and mechanical strength. A plaster sold as “insulating” must be sized using the thickness that can actually be installed, not the marketing promise.
Compatibility with finishes: top coats, mineral paints, vapour openness
Keep the build-up coherent. Base coat, finish and paint must remain vapour-permeable. Prefer lime-based finishes and compatible mineral paints. Avoid film-forming systems that trap moisture, especially on historic masonry.
Substrates and preparation: what an old wall will accept (and what it will not)
Common substrates: stone, rubble stone, brick, rammed earth, wattle and daub, old lime renders
On historic buildings, you start with mineral, vapour-open substrates. Stone, rubble stone, solid brick, rammed earth and wattle and daub can take a lime plaster if the base is sound. An old lime render remains a good substrate once checked. The goal is to keep an open substrate, without blocking moisture transfer.
Essential preparation: stripping loose areas, repointing, repairing defects and salt efflorescence
Before thermal corrective plastering, carry out a full removal of hollow-sounding areas, brush down dust, then repoint with a compatible mortar. Correct the defects that caused the cracks and leaks. In the presence of salt efflorescence, use dry brushing, removal of deposits and drying. Avoid film-forming primers.
Bonding and risks: closed substrates, cement, film-forming paint, rising damp
Cement render, film-forming paint or water repellents. These layers seal the substrate and trap water. You increase the risk of blistering, debonding and frost damage. Carry out a water absorption test and an adhesion test. If rising damp is active, first address water ingress and building air management.
Installation and performance: achieving thermal correction on an old wall without overpromising
Thickness, coats, drying: stick to best practice to limit cracking and debonding
| Applied thickness (mm) | Number of coats (n) | Drying between coats (days) | Typical additional R (m².K/W) |
|---|---|---|---|
| 20 to 40 | 2 to 3 | 2 to 7 | 0.5 to 1.0 |
On an old wall, thermal corrective plaster remains a correction, not insulation. You are aiming for a sound substrate, continuous bonding, and controlled drying. Use mesh at changes in substrate, corner reinforcement, and salt treatment before closing up.
Details that make all the difference: reveals, lintels, wall bases, continuity and thermal bridges
Reveals and lintels are risk areas. Draw a standard detail, then check the actual thickness at the wall base and returns. Without continuity, the thermal bridge takes over, even with a beautiful finish. To keep performance consistent, remember that lack of continuity is often the factor that changes the result, much more than the declared R value alone.
Commercial positioning: quotation, written wording, substrate photos and warranty limits
In the quote, set out written wording on the target additional R value, as a range, depending on thickness and the technical data sheet. Add dated photos of the substrates, moisture readings, and warranty limits, such as possible surface cracking and no responsibility for rising damp.