Understanding connected temperature sensors and their uses on site
What a sensor is for: measurement, monitoring and real-time alerts
On site, a connected temperature sensor measures, records and shares a reliable value without waiting for the next visit. You can track a screed drying, how insulation behaves, or the stability of a room before commissioning. With thresholds set, it triggers real-time alerts in the event of frost, overheating or drift.
Main types of temperature sensor: wired probe, wireless, thermistor, PT100/PT1000
The wired probe remains the simplest option where access is stable. Wireless is handy in closed-off areas or to limit cable runs. On the technology side, a thermistor (often NTC) reacts quickly. PT100 and PT1000 (platinum) sensors are sought after for good accuracy and long-term stability.
Where to place them: loft, walls, floors, hydraulic network and indoor unit
Place the sensor as close as possible to what you want to monitor. In a loft, at the heart of the insulation. In walls and floors, away from thermal bridges. On the hydraulic network, at the flow and return, with suitable mounting and protection. On the indoor unit, aim for a stable reading sheltered from direct airflow.
Choosing the right sensor for the client's need and the technical package
Selection criteria: accuracy, temperature range, response time and protection rating
Start by identifying the use case: comfort monitoring, condensation prevention, or checking a heat pump or mechanical ventilation system. A reliable sensor is chosen based on the accuracy you actually need, the temperature range genuinely encountered, the response time, and a protection rating suited to the space (dust, humidity, outdoors).
How it connects: Wi-Fi, Zigbee, LoRa, GSM and battery life
Wi-Fi is simple as long as the network holds up. Zigbee suits homes well thanks to its mesh network and low power draw. LoRa targets long range when you don't have a broadband box on site. GSM comes to the rescue on an isolated site, with a subscription. Battery life mainly depends on the reporting frequency and radio quality. Aim for energy-efficient settings.
Compatibility: gateway, app, home automation and multi-site monitoring
Check the gateway, the app, data export, and home-automation integration (e.g. MQTT or an API). For multiple sites, favour centralised monitoring, team-based permissions, and simple alerts. An open ecosystem avoids getting stuck at the next technical package.
Installation and commissioning: clean methods and mistakes to avoid
Preparation: marking out, drilling, mounting and protecting the sensor on its support
Identify a stable spot, away from draughts and knocks. Mark it out, drill at the right diameter, then clear the dust for a fixing that lasts. Match the wall plugs and screws to the support. Protect the sensor with conduit, a cable gland and a flexible seal. The goal: a clean, sealed area, with no pinched cable.
Commissioning: pairing, simple calibration and checking the readings
Pair the sensor with the gateway or the control system, then check the signal quality. Run a simple calibration per the instructions, zero or offset, in a room with an even temperature. Do a quick check by comparing against a reference thermometer. Confirm consistency over 10 minutes.
Common pitfalls: thermal bridges, condensation, interference and placement too close to a heat source
Avoid thermal bridges, for example a screw running through the insulation. Plan ahead for condensation in cold zones, with a continuous vapour barrier and a routing that lets water drain away. Keep the sensor's cables away from power supplies and dimmers. Place it well away from a radiator, a hot water tank or a duct. Also avoid the corner behind a curtain.
Real-world cases in energy retrofit: insulation, heat pumps and balancing
Insulation: checking comfort and spotting cold zones after work
After insulation work, go back for a simple check. A temperature sensor and a small hygrometer are often enough. Compare rooms, especially near windows/doors, sockets, corners and hatches. In cold weather, a surface noticeably colder than the rest often signals a thermal bridge or an air leak. The goal: catch cold zones before they turn into condensation. To go further, infrared thermography lets you quickly visualise these thermal leaks.
Heat pump: monitoring flow/return, defrost cycles and settings optimisation
On a heat pump, monitor the flow and return temperatures via the built-in probes or a sensor fitted on the pipes. Note the difference, the start-up frequency and the defrost cycles. Very short or too-frequent cycles often point to a setting that needs fine-tuning. Adjust the heating curve and the setpoints step by step to keep good settings without over-consuming.
Heating and domestic hot water: validating the balance, limiting overheating and detecting drift
To validate the balance, measure room by room over a week. A sensor in the living area and flow/return readings help you spot radiators that are over-served or underfloor heating that lags behind. On domestic hot water, watch the stability of the tank and the recirculation loop. Gradual drift is often a component wearing out. Aim for a genuine balance and stable temperatures.
Data, regulation and best practices in 2026 for tradespeople
Traceability of measurements: sharing a clear, usable client report
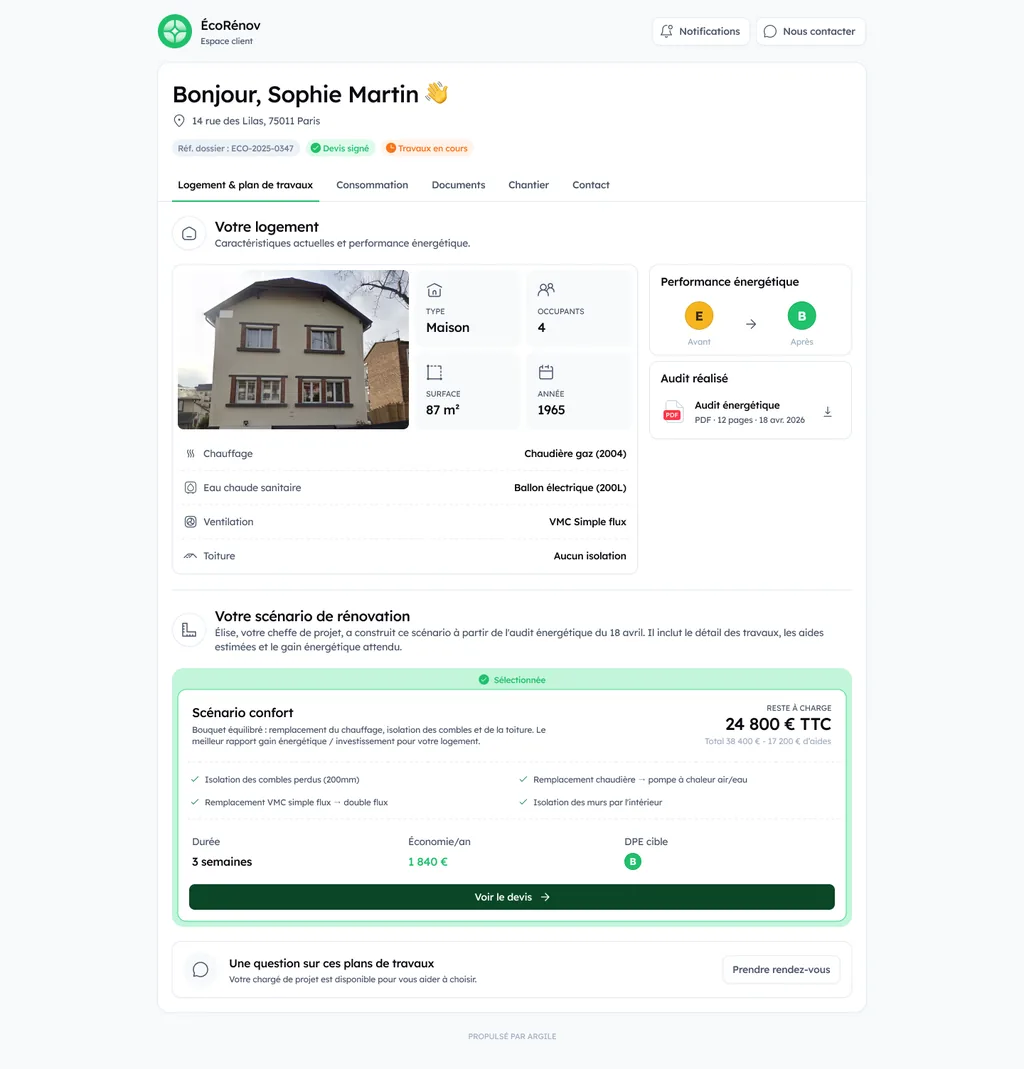
In 2026, keep a simple, solid record of your readings. A dated report with the address, the context (works, weather, usage), the sensor ID, its location and a few photos makes your measurements understandable. Add the raw values and the calculation method. The client can refer back to it. So can you, in case of an inspection or a dispute. That report has somewhere to live: the client finds their documents, their home and their project in a dedicated space, with no need to call.
Security and privacy: passwords, installer access and updates
Client data remains personal data. Apply GDPR (General Data Protection Regulation) day to day. Use long, unique passwords, ideally through a manager, and enable two-factor authentication where possible. Limit shared accounts. Change the default installer access. Keep tight control over access and keep the app, gateway and firmware up to date.
Maintenance: battery replacement, annual checks and fleet management
A reliable sensor is a sensor that's kept track of. Plan a maintenance schedule with battery replacement, a communication test and an annual drift check. Keep an inventory with serial number, installation date, and next-visit date. Keep 1 or 2 spare sensors on hand to avoid working blind on site.