Clarify your priority: comfort, bills or safety before any renovation
Identify the urgent issues: humidity, ventilation, electrics and roof
Before starting a renovation, begin with what could damage the home. Signs of humidity, mould, odors, condensation and a non-working mechanical ventilation system are warning signals. On the electrical side, an old panel, outlets that heat up, or a lack of residual-current protection call for bringing the system up to safety. And a leaking roof quickly cancels out any insulation effort.
Measure your losses: a simple diagnosis of cold zones and air leaks
Identify cold zones to the touch, near windows, roller shutter boxes, loft hatches and door bottoms. An incense stick helps visualize air leaks. Also note the rooms where you overheat. These findings guide the insulation and ventilation choices, before sizing the heating.
Set a realistic budget: work envelope + margin for the unexpected
Cost each work item separately, then keep a margin for the unexpected, especially in renovation. Factor in "invisible" costs (removal, rework, protection, finishes) and coordination time. 2026 aid schemes like MaPrimeRénov' and CEE need to be prepared in advance. Clear quotes, a simple schedule, and you stay in control.
The most cost-effective first step: treating air and insulation before changing the heating
In renovation, the best-spent euro is often the one that avoids heating the outdoors. Before replacing the heating system, reduce the losses. You'll then be able to size a simpler, and often cheaper, system.
Start with airtightness: sealing, hatches, duct penetrations
Identify and treat air leaks around joinery, roller shutter boxes and loft hatches. Also seal duct and pipe penetrations. When a blower-door test is planned, it helps prioritize the weak points.
Insulate first where it pays off most: loft, ground floor, walls depending on configuration
Start with the loft, then the ground floor if access is straightforward. Walls come next depending on the configuration, taking care with thermal bridges. You recover lost kWh, gain comfort, and heating becomes secondary.
Check the ventilation: mechanical ventilation, air inlets, flow rates to avoid problems
A more airtight home needs to breathe at the right rate. Check the mechanical ventilation, air inlets and flow rates, clean the vents and replace worn parts. Properly adjusted ventilation protects the building and guarantees healthy air. For more on this, also see the air renewal rate to target.
Plan your work in stages: a renovation path compatible with a small budget
Set a clear phasing: quick actions, intermediate work, whole-house renovation
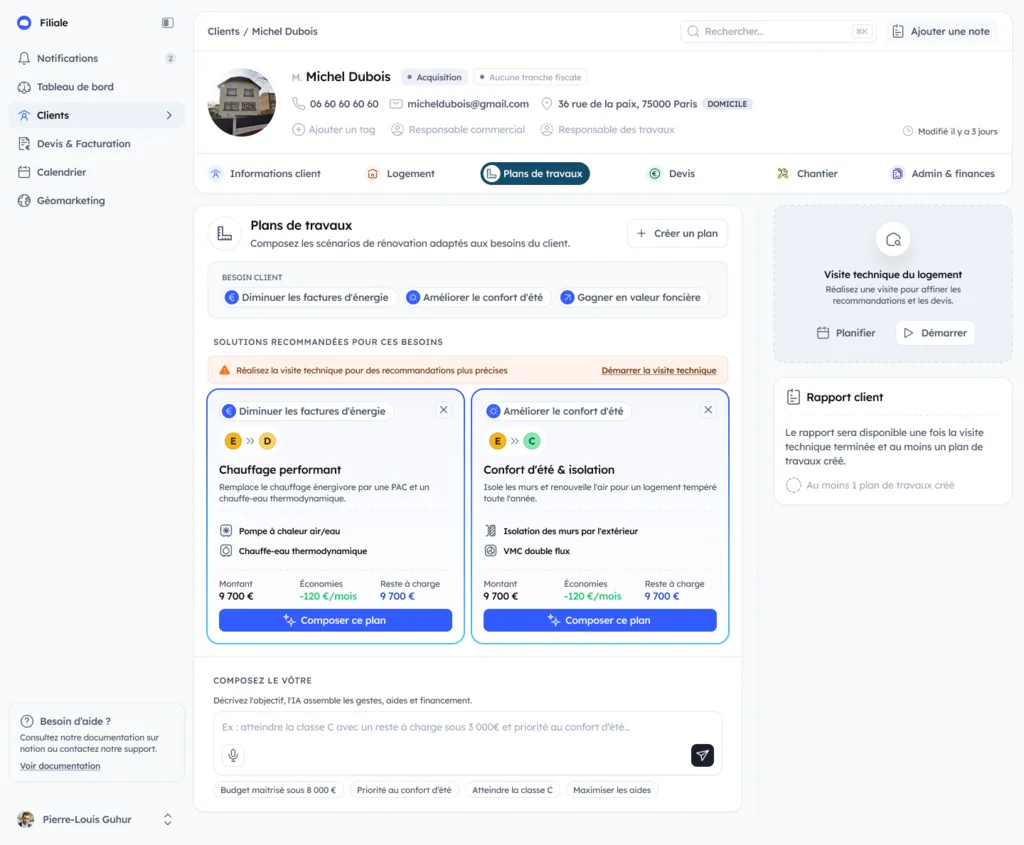
Start with low-cost actions that pave the way. Heating adjustments, pipe lagging, seals, thermal curtains. Then move to intermediate work, such as loft insulation or replacing an aging water heater. If your home is very energy-hungry, keep a whole-house renovation on the horizon. It's built piece by piece with a simple plan and coherent quotes. That plan is put together by objective, with the measures ranked against the home's characteristics and the budget available.
Coordinate the work items: insulation, joinery, ventilation, heating in the right order
The order avoids paying twice. Generally, start with insulation and airtightness, then joinery, ventilation and finally heating.
- Insulation and airtightness treatment.
- Joinery if needed, with careful installation.
- Suitable ventilation, to maintain healthy air.
- Heating sized after needs have dropped, for example a heat pump.
Avoid common mistakes: incompatible materials, thermal bridges, condensation
Check the compatibility of insulation and vapour barriers, especially on older walls. Treat junctions, reveals, sills and floors to limit thermal bridges. And never block the ventilation. A more airtight home with no air renewal invites condensation in. A precise diagnosis before work secures your choices.
Mobilize 2026 aid schemes without getting it wrong: MaPrimeRénov', CEE and RGE
Check your eligibility: income, home, expected gains and paperwork to prepare
Before starting the renovation, check your income thresholds and the home's status (main residence, age). Anticipate the expected gains with a DPE or an audit if needed. Prepare your tax notice, ID, proof of address and cadastral references. Once those documents are together, grants, energy saving certificates and monthly payments add up in a single financing plan, with what is left to pay shown.
Choose fundable work: insulation, heat pump, ventilation, controls
- Loft, wall and floor insulation, with compliant thermal resistance.
- Heat pump, ventilation (mechanical) and controls, suited to the home.
For CEE, the operation must match a standardized operation sheet and be committed to under the supplier's rules.
Secure your file: quote, RGE mention, proof of performance, timeline
Submit the application before work starts. Require a dated, detailed quote and the appropriate RGE mention for the work item. Keep technical data sheets, certifications, photos and the final invoice. For CEE, accept the offer before signing. Keep a clear timeline to avoid refusals.
Cost and trade-offs: how to keep the budget under control during the renovation
Build a comparative quote: separate work items, options, finish levels
Ask for pricing by separate work items (insulation, heating, ventilation, joinery). Add clear options. Insulation thickness, type of heat pump, finishes. Require a detailed quote with quantities, references, timelines. Then put everything into a comparison table. You'll quickly see what changes the price, and what really changes the result.
Negotiate smartly: prioritize performance, limit decorative items
Make trade-offs by targeting energy performance first. Insulation and airtightness. Controls and ventilation. Push back decorative items, and especially late changes that end up as change orders. Also check the combining of aid schemes (RGE, MaPrimeRénov', CEE) before signing.
Follow the job: checkpoints, acceptance, warranties and reservations
Plan checkpoints at each stage. Insulation installation, networks, commissioning. At the end, do a formal acceptance report, note any reservations, and only settle the final invoice once they're resolved. Keep insurance, invoices and certificates. The warranties remain your safety net.