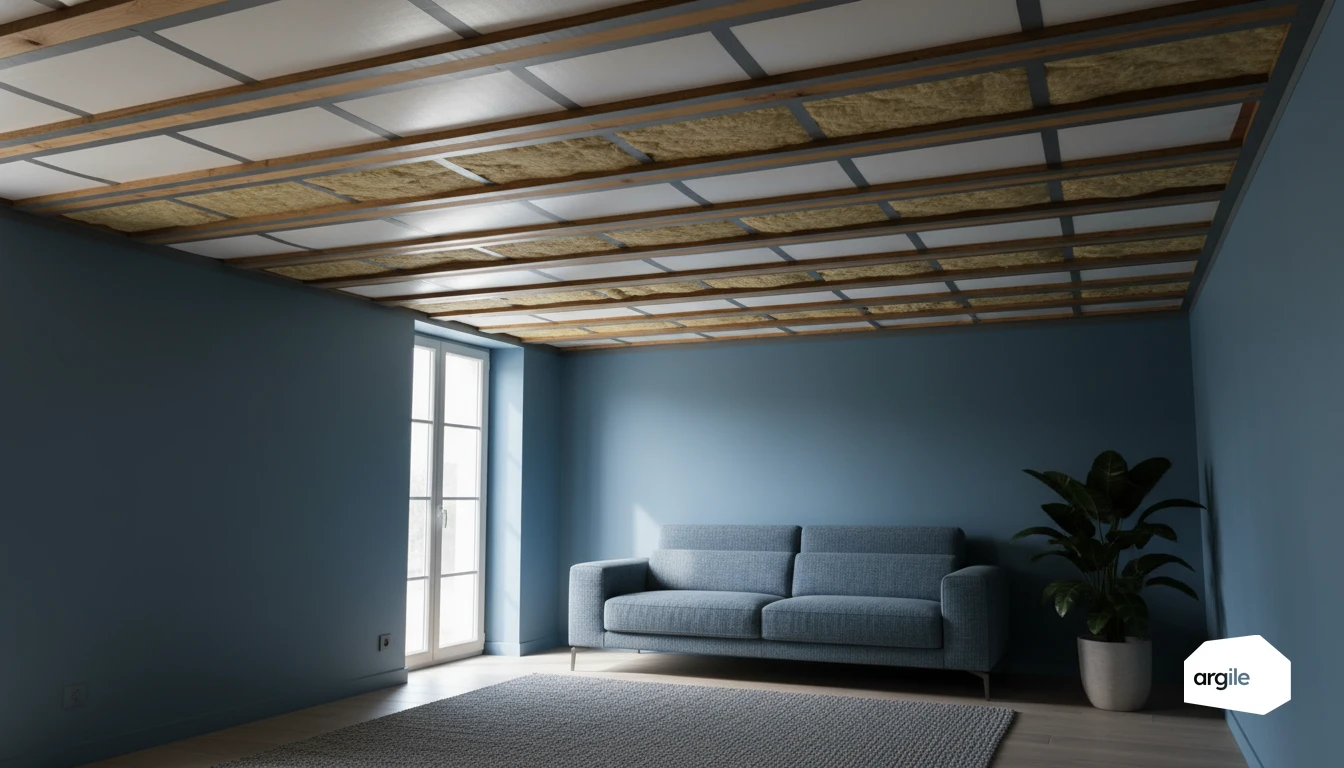
Insulation between joists means filling the voids of a timber floor between members of a common 8 × 20 cm section, set at 40 to 60 cm centres, measured axis to axis before ordering. On a ground floor, the target is R ≥ 3 m².K/W, the threshold of the CEE sheet BAR-EN-103, and the vapour control layer always goes on the warm side. The joist stays a thermal bridge that no thickness between joists corrects. The check that puts the firm on the hook comes before the insulation: moisture content of the timber and ventilation of the crawl space, because insulating a damp floor speeds up its decay instead of slowing it.
Insulation between joists: from below or from above depending on the floor
Insulate from below as soon as the cellar, basement or crawl space is accessible: the home loses neither height nor floor finish. Insulate from above when the floorboards are coming up anyway, or when the crawl space is too low to work in. And if the floor does not separate a heated space from a cold one, the insulation between joists does acoustics, not thermal work.
| Floor | Access for insulating | Purpose | Side of the vapour barrier or vapour check |
|---|---|---|---|
| Ground floor over an accessible crawl space | From below | Thermal | Above the insulation, nothing airtight on the crawl-space side |
| Ground floor over a cellar or unheated basement | From below | Thermal | Above the insulation, on the ground-floor side |
| Ground floor over an inaccessible crawl space | From above, boards lifted | Thermal | On the joists, under the new floor |
| Intermediate floor between two heated levels | From above or through the ceiling | Acoustic | Usually none |
| Loft floor under an unheated attic | From above | Thermal | Under the insulation, on the heated-room side |
Ground floor over a crawl space or cellar: insulating between the joists from below
From below, the insulation is fitted between the joists with a slight oversize, held by battens, hangers or the underside board. Prefer a semi-rigid product to a soft roll, which ends up sagging. The underside stays the cold side: close it with a board or a vapour-open membrane, never with an airtight film. Diagnosing the space itself (ventilation, water sources, clear height) is covered in insulating a floor over a crawl space. When the customer hesitates between the cellar ceiling and its walls, see insulating the basement ceiling or walls.
Insulating between the joists from above, boards lifted
From above, it is the only route when the crawl space won't let a worker through:
- Lift the floorboards and check the joists (moisture, insects, bearings).
- Build the bottom of each bay: vapour-open membrane or wood-fibre board held by battens nailed along the foot of the joists.
- Fill between the joists without compressing, with batts or cellulose blown into a closed bay.
- Lay a vapour-check membrane over the joists, overlaps taped and turned up the walls at the perimeter.
- Relay a board floor or the original floorboards, leaving the expansion gap at the edges.
Without the upstand at the perimeter, cold air rises at the edge and bypasses the whole build-up.
Intermediate floor: insulation between joists does acoustics
Between two heated levels, there is almost no temperature difference to hold back: the wool between joists absorbs airborne noise, with no vapour barrier. Impact noise needs a resilient underlay or a decoupled ceiling, see sound insulation of intermediate floors. An exception to note on the survey: an upper floor over a garage or an open passage is thermally a ground floor.
Diagnosing your floor between joists: wood structure, moisture and site access
Identifying the type of floor and the wood-joist spacing (older home, lightweight floor, load-bearing floor)
Start by looking at the floor's makeup from below, or by removing a board. Boards on joists, panels, infill blocks. Note the section of the timber and measure the spacing (centre to centre) to plan the insulation and mechanical performance.
Spotting risk areas: moisture, crawl-space ventilation, condensation marks and mould
Go round the cold zones and the masonry supports. Look for active moisture: dark wood, odour, mould, condensation on pipework. In a crawl space, check that the vents aren't blocked and that the ground isn't waterlogged before insulating.
Measure the moisture content of the timber with a pin moisture meter, at the foot of the joists and at the built-in bearings. Above about 20 %, wood-decay fungi find their conditions: dry the structure out before closing up. Once insulated, the underside of the floor will be colder, so closer to the dew point: crawl-space ventilation must stay cross-flow, on at least two opposite façades.
Checking safety and installation conditions: access hatches, substrate condition, loads and utilities (electrical, plumbing)
Make sure access is straightforward: hatch, lighting, movement space. Check the condition of the substrate (joists, hangers, fixings) and locate the utilities to avoid drilling in the wrong spot. Also confirm any added loads if you're planning a load-bearing floor or a suspended ceiling. To choose the right insulation strategy, also see insulating a ground floor from below or above.
Choosing suitable insulation for a wood-joist floor: materials and useful thicknesses
Comparing insulation compatible with wood: wood fibre, cellulose wadding, mineral wool, rigid panels
Between joists, the objective is simple: fill without compressing, to avoid air leaks in the floor. Wood fibre and cellulose wadding handle moisture fluctuations well and often improve acoustics. Mineral wool remains effective and economical, provided it's well fitted. Rigid panels (PIR, PUR, EPS) are useful when available height is limited, but they require very careful installation at the joints.
Setting the thickness from the joist depth, and the layer under the joists
On a ground floor, aim for at least R ≥ 3 m².K/W for the installed insulation, i.e. 105 to 120 mm of mineral wool or about 80 mm of PIR. For comfort, a thermal resistance of 4 to 4.5 m².K/W is worth it whenever height allows. The joist depth caps the thickness that fits between the joists:
| Joist depth (mm) | R between joists, mineral wool λ 0.035 (m².K/W) | R between joists, wood fibre λ 0.038 (m².K/W) | Layer under the joists |
|---|---|---|---|
| 100 | 2.9 | 2.6 | Essential to reach R ≥ 3 |
| 120 | 3.4 | 3.2 | Recommended, 40 to 60 mm continuous |
| 150 | 4.3 | 3.9 | Useful if clear height allows |
| 200 | 5.7 | 5.3 | Optional, except to close the airtightness |
Values for the insulation alone, R = thickness / λ. Argile's thermal resistance calculator redoes the calculation for a multilayer build-up.
Vapour barrier between joists: always on the warm side
The vapour barrier, or better a vapour check, goes on the heated side: above the insulation for a ground floor, below it for a loft floor under an unheated attic. The element must be more vapour-tight on the warm side than on the cold side, so that moisture getting in can get out.
When insulating from below, the warm side is out of reach: the existing floor acts as the vapour check, and the rule becomes a negative one. No airtight film under the insulation, on the crawl-space or cellar side, or vapour condenses on it, against the joists. When insulating from above, lay a smart (hygrovariable) vapour check over the joists: tighter in winter, it opens in summer and lets the wood dry towards the inside, which polythene prevents. Dry wood means durable performance.
Installing floor insulation without thermal bridges: on-site techniques that make the difference
Ensuring insulation continuity between joists: clean cuts, retention, joints and overlaps
On a floor, performance is decided at the junction between strips. Aim for clean cuts with a slight oversize so the insulation holds by friction without compressing. Install with staggered joints where possible, close gaps with a supplementary strip, and avoid "stepped" joins that let air escape.
Treating thermal bridges at the wood joists: continuous underside layer, crossed panels, roll supplement
Wood joists cut through the insulation like rails. Softwood conducts heat more than three times better than wool (λ of about 0.13 W/m·K against 0.035 to 0.040), and 8 cm joists at 60 cm centres take up 13 % of the area. A simplified parallel-path calculation on 120 mm of mineral wool gives roughly a quarter more loss than the wool alone. Adding 60 mm continuous under the joists brings the gap down to about ten per cent. Hence the continuous underside layer beneath the frame, using panels or wool on a secondary frame.
- 1st layer between the joists, uncompressed.
- 2nd continuous crossed layer, staggered joints.
- Supplement with rolls in irregular zones (splices, openings).
Achieving careful airtightness: membranes, tapes, perimeter and penetration seals
Effective floor insulation requires durable airtightness. Choose a suitable membrane (vapour-check or vapour barrier depending on the build-up), tape the overlaps with a compatible adhesive, and take care with perimeter seals on a clean substrate.
- Sleeve penetrations (ducting, drains) with preformed fittings.
- Treat corners and wall-floor junctions with sealant or airtightness tape.
Taking care of the floor's singular points: perimeter, stairwells, supports and wall/floor junctions
Avoiding edge losses: continuity with wall insulation, resilient strip and perimeter fill
At the edge, the floor must connect to the wall insulation without a break. Fit a resilient strip around the perimeter before the screed or panels, then fill the gap with a compressible material. You'll limit thermal bridges and noise. On a wood floor, also take care with the edge joist and the continuity of the air barrier.
Treating stairwells, ducts and utility runs: sealing, boxing-in, suitable cladding
Around a stairwell, a duct or utilities, seal the volume first. Use membrane, sleeves and sealant for clean airtightness. Then build a rigid box, followed by suitable cladding. Respect safety clearances around ducts, and keep access for maintenance.
Preventing issues: acoustics, settlement risk, rodents and mechanical protection of the insulation
To avoid creaking and settling, choose insulation compatible with the load, on a continuous substrate. Treat the supports, close small gaps, and fit anti-rodent mesh if needed. Plan for mechanical protection in traffic zones and on the underside.
Grants and requirements in 2026: showcasing wood-joist floor insulation in your quotes
Understanding the eligibility criteria tied to the floor: performance, surface, supporting documents and site coherence
On the CEE side, sheet BAR-EN-103 funds insulating a ground floor over an unheated space, a crawl space or an open passage, with insulation of R ≥ 3 m².K/W installed by an RGE firm. On the MaPrimeRénov' side, decree no. 2026-822 removed insulation from the single-measure flat rates for applications filed since 1 September 2026: it only comes back within a whole-house renovation under the accompanied pathway. An intermediate floor opens none of these grants. Eligibility then hinges on the thermal resistance of the installed insulation, its continuity, and the match between declared surface, plans and photos.
Structuring a clear quote to limit disputes: description, materials, thermal-bridge treatment, options
In the quote, detail the substrate, access, thickness and type of insulation, plus the vapour barrier or vapour-check layer if planned. Add the treatment of edges and stairwells to limit thermal bridges. Offer as options the removal of old insulation, utility rerouting, or an underside cladding finish. That level of detail stays workable when the quote builds itself from the materials, labour and accessories in the works plan.
Securing quality on site: self-checks, photos, technical data sheets and RGE traceability
On site, keep a routine. Before, during and after photos, surface markers, labels from the rolls or panels, and technical data sheets showing performance. A self-check of the joints, fixings and airtightness around penetrations secures the file and your RGE traceability.