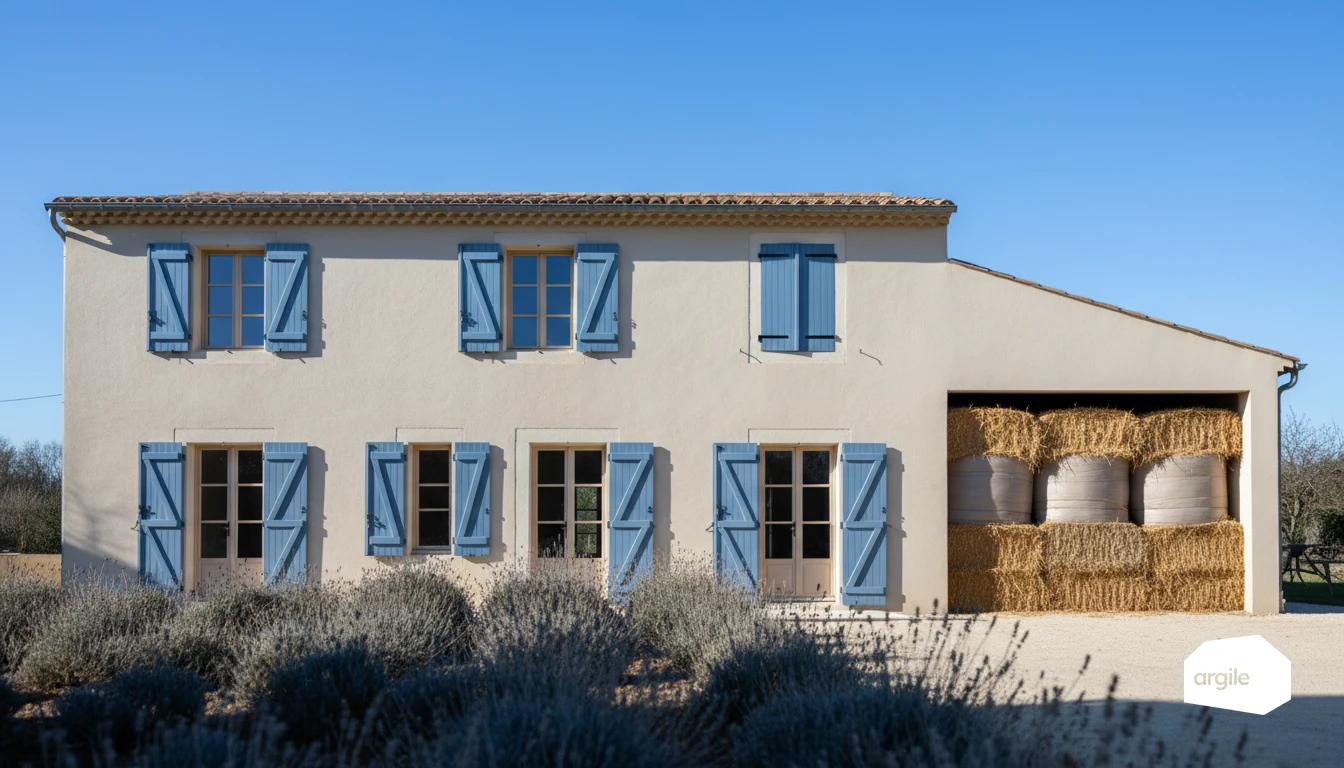
Compressed straw has a lambda of 0.050 to 0.065 W/m·K, giving a thermal resistance of 5.5 to 7.0 m²·K/W at 36 cm, the common thickness of a bale used as frame infill. The material price holds between €5 and €10/m², but what decides the quote is the installed cost: framing, cassettes, breather membrane, vapour check, treatment of the singular points and renders or facings weigh far more than the bale itself. Straw is installed as bales, as factory-compressed panels or as prefabricated cassettes, the last of these limiting cutting and lost output on site. The durability condition is the same in all three cases, keeping the material dry, from sheeted storage on pallets through to protection at the base of the wall and at the roof overhang, a batch rejected for moisture cancelling the saving on the material.
Understanding compressed straw and its uses in insulation
What exactly are we talking about: bales, panels, cassettes
When we talk about straw for insulation, we mainly mean heavily compressed cereal straw, used as fill. On site, you'll come across it as bales (the "straw-bale construction" format), as rigid panels (straw compressed in a factory, sometimes with claddings) or as ready-to-install cassettes, designed to limit cutting and secure the installation.
Where to use it on site: walls, roofs, floors (and limits to know)
The most common uses are timber-frame walls, roof rafters filled with cassettes, and certain floors as fill or as a complement to other insulation. The golden rule stays the same: keep the material dry and manage airtightness properly. The limits to anticipate are prolonged exposure to moisture, poorly treated junction details, and thicknesses that can complicate connections.
Material compatibility: timber frame, earth/lime renders, claddings
Straw works very well with a timber frame, earth or lime renders on the inside or outside, and ventilated claddings (siding, panels) on the facade. Aim for vapour-permeable build-ups, with a vapour control layer suited to the case, and durable protection at the wall base and roof overhangs. That's where longevity is decided.
Why straw is a cost-effective insulation: cost items and real savings
Material price vs installed cost: what really weighs on the quote
Straw often has a low material price, especially through a local supply chain. But on a quote, the real issue is the installed cost. Framing, cassettes, breather membranes, vapour control layers, treatment of junction details, renders or claddings quickly take up more of the budget than the bale itself. The savings therefore come down to design and to repeated details that are simple to execute. On the quote, materials, labour and accessories are carried over line by line from the work plan, which makes that installed cost visible instead of burying it in a lump sum.
Labour, pace and tooling: key points to stay profitable
Profitability comes from site pace. Prefabricated panels, standard dimensions, a clear layout plan, and a team trained in the professional rules. On the tooling side, keep it light: cutting jigs, straps, needles, moisture meters. The time saved shows up immediately in the square metres insulated per day.
Transport, storage, losses: keeping the cost-effective option from getting expensive
The bale is bulky. Poorly optimised transport, or damp storage, can wipe out the advantage. Plan deliveries at the right time, dry storage on pallets with ventilated sheeting, and keep offcuts to a minimum. Fewer losses means more margin.
Performance and comfort: what straw delivers (and what it doesn't)
Thermal insulation and thermal lag: summer and winter comfort
Straw bales are an effective natural insulation. Their low lambda value helps limit heat loss in winter. In summer, straw combined with renders provides a useful thermal lag, especially if you plan a slightly heavier interior finish. That said, it doesn't on its own replace the thermal mass of a solid masonry wall.
Acoustics and moisture management: conditions for a durable result
With continuous renders and good airtightness, straw contributes to good sound attenuation. It can also buffer some ambient humidity. But it doesn't like liquid water. The wall base, roof overhangs, ventilation and vapour management all need to be done properly.
Fire, rodents, settling: common misconceptions and preventive measures
Compacted and protected by renders, a straw wall achieves good fire performance. Rodents mainly show up where there are voids. Careful detailing and grilles limit the risk. Settling is managed through bale density and proper compression during installation.
Rules, insurance and compliance: securing your straw projects in 2026
Reference documents and proof of performance: what you'll be asked for
On a straw job, you'll be asked for solid foundations. Rely on the French professional rules for straw-bale construction (Règles CP 2012) and, depending on the substrate, on the relevant DTU standard (timber frame, masonry). Prepare a file with execution drawings, airtightness details, thermal-resistance calculations, and bale traceability (density, moisture, storage).
Ten-year insurance (décennale): how to present your file without getting blocked
Talk to your insurer early. Show that the installation stays within the scope of the professional rules. Add a Pro-Paille certification if you have one, technical data sheets, self-inspection photos and a handover report. Outside that scope, a technical assessment (ATEx-type) can unblock the file.
RGE certification, grants and consistency of the work package: when straw fits well
Straw fits well into wall or roof insulation if the performance levels required by MaPrimeRénov' and CEE are met and the company is RGE-certified. Think in terms of a coherent package: insulation, ventilation, treatment of thermal bridges, then heating.
Site method: succeeding with compressed straw insulation without cost overruns
Preparation and layout: checking dimensions before delivery
Before ordering your cassettes or straw bales, measure each bay (width, height, depth), the condition of the supports, and the space for the vapour control layer. A simple layout plan avoids cutting, and therefore lost hours. Plan for a dry storage area, on pallets, protected from rising damp and impacts. Those bay measurements feed the surfaces and the 2D plan directly, with no re-measuring back at the office.
Installation: fitting, compression, insulation continuity and airtightness
Set out the frame with a chalk line, then insert the straw in regular modules. Aim for uniform compression to eliminate voids and keep the faces flat. Ensure continuity at floor, wall and roof junctions with a continuous vapour control layer, sealed with compatible mastic and tapes. Check for air leaks before closing up.
Finishes and junction details: window reveals, connections, service penetrations
At window reveals, keep a constant insulation thickness and a rigid bearing piece. At connections, close the corners with neatly cut pieces of straw rather than spray-foam fill. For junction details, run services through a service void or use sealed sleeves, then patch with a compatible render.