Understanding the difference between low- and high-temperature heat pumps
Flow temperature ranges: what this changes on site
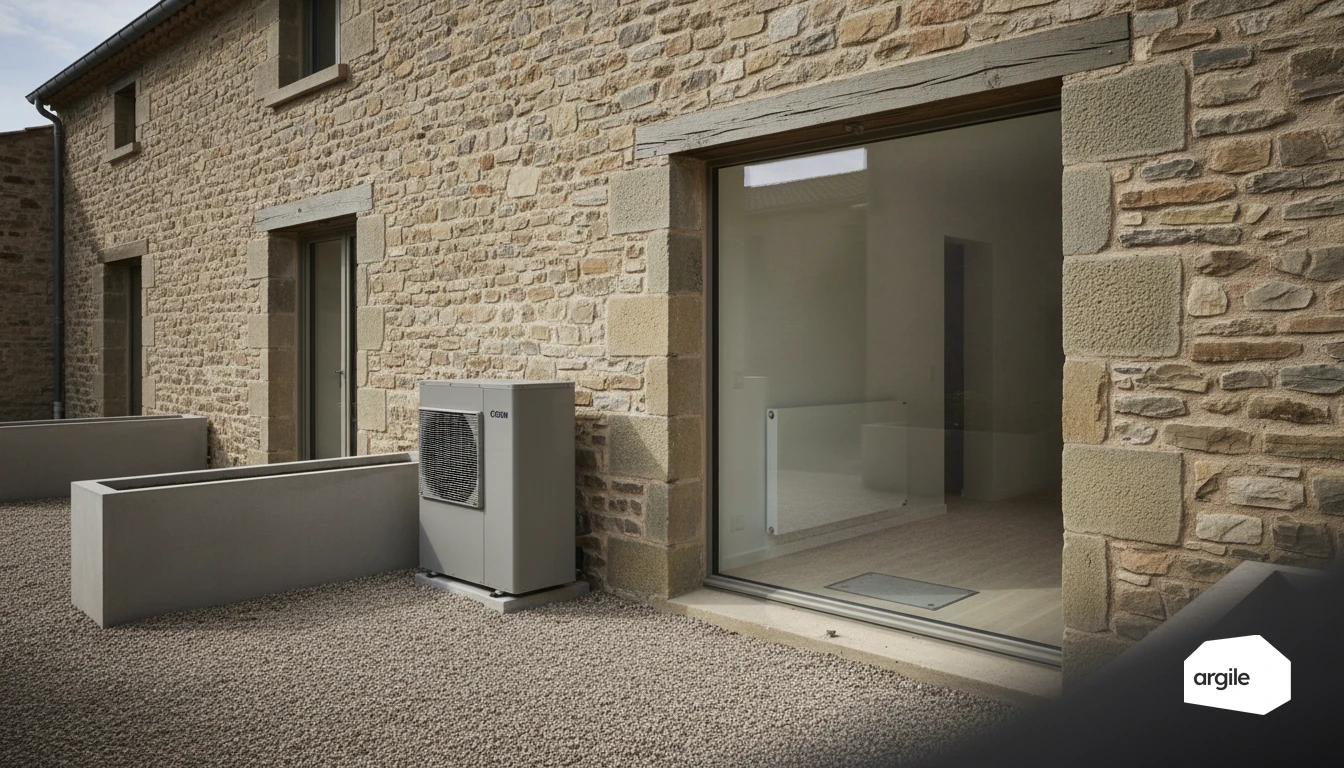
We call it a low-temperature heat pump when the flow water often runs around 35 to 45°C. It's ideal with underfloor heating or well-sized radiators. A high-temperature version instead targets 55 to 65°C, sometimes more. On site, this changes the choice of emitters, the heating curve setting, and the network checks (flow rates, balancing, noise).
COP and consumption: why temperature really matters
The higher the flow temperature, the harder the heat pump works. The COP drops, so consumption rises, especially in cold weather. Conversely, targeting 35°C instead of 55°C can gain efficiency, and it also changes the class shown, since ETAS is read on a scale of its own at low temperature. Hence the value of working on insulation and, if needed, increasing the radiator surface area rather than raising the setpoint.
Renovation and existing systems: when high temperature is necessary
In renovation, high temperature becomes necessary when the existing installation requires very hot water (old radiators, poorly insulated rooms) and you can't change the emitters right away. It's a transitional solution. But once the home is improved, a low-temperature heat pump often becomes the more efficient choice.
Your heat emitters: compatibility, limits and points of attention
Cast-iron and steel radiators: what they can handle without losing comfort
A heat pump works better with mild water. Cast-iron radiators, thanks to their thermal mass, maintain good comfort even at a lower flow temperature. Steel radiators can also work if their surface area is sufficient. Point of attention: if your radiators are small, you'll either need to add more, or raise the water temperature, with performance dropping as a result. Plan for purging, balancing and well-adjusted thermostatic valves.
Underfloor heating: the ideal emitter for a low-temperature heat pump
Underfloor heating is naturally suited to low temperatures. It heats for long periods, gently, with a water temperature often around 30 to 40°C. To avoid overheated rooms, pay attention to controls: outdoor sensor, heating curve, and well-balanced flow rate. Also check the under-slab insulation and the condition of the loops before commissioning.
Fan coil units and ducted systems: practical cases and settings to watch
With fan coil units, watch the airflow, noise, and filter cleanliness. In cooling mode, manage condensation (drainage, network insulation). With ducted systems, poorly adjusted zoning and dampers create whistling and short cycling. Adjust the fan speed, then stabilize the setpoint temperature to avoid swings.
Choosing the right temperature to avoid bad surprises on radiators
Sizing: simple calculations to validate power in cold weather
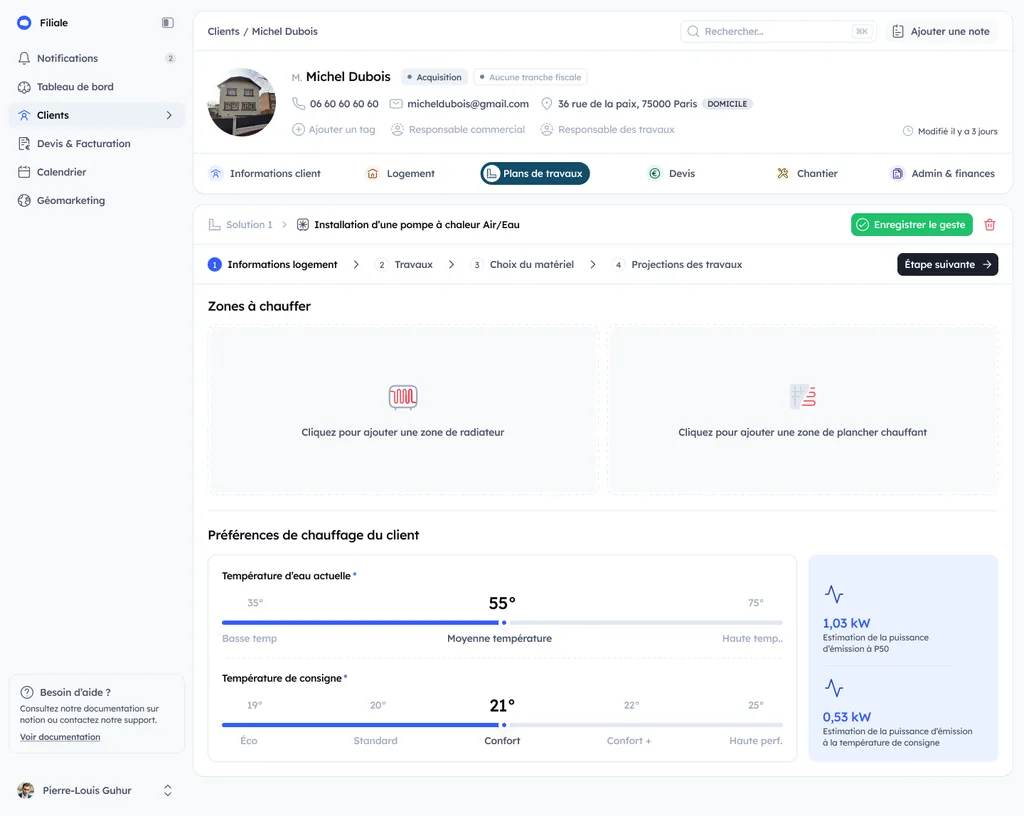
With a heat pump, the key point is the useful power in cold weather. Take the estimated heat loss of the home (W) at the design temperature, broken down zone by zone in a report compliant with EN 12831-1, then compare it to the radiators' power at the target regime. A radiator rated at 70/50/20 won't deliver the same output at 45/35/20. Without this check, you compensate by raising the water temperature, and the bill follows.
Water regime and heating curve: adjusting without overheating
Aim for the lowest water regime that holds the setpoint. Adjust the heating curve in small steps, wait 24 to 48 hours, then fine-tune. Too high, and you overheat the rooms while the heat pump loses efficiency. Too low, and you push the thermostat and create yo-yo swings.
Noise, short cycling, wear: indirect effects of too high a temperature
When you demand too much heat, the heat pump works harder, builds up pressure, and runs through short cycles. Possible results: more noise, frequent starts, unstable control, and accelerated wear (compressor, circulators). It's better to gain 5°C on the water regime than 1 kW on the "on-paper" power rating.
Field method for deciding: low or high temperature depending on the home
Audit and readings to take before quoting: emitters, insulation, heat loss
Before choosing a heat pump, start from the facts. Record each emitter (type, dimensions, spacing, power if known) and the current water temperature. Check insulation, visible thermal bridges, ventilation, then run a room-by-room heat-loss calculation. A reliable survey avoids compensating at random with water that's too hot. That survey is done during the technical visit, with the required output recalculated at every entry.
Typical scenarios: poorly insulated home, existing radiators, partial replacement
A poorly insulated home with small radiators. A high temperature can serve as a stopgap, but the real gain often comes from a works scenario: targeted insulation plus balancing, then a switch to low temperature. If only a few radiators are the limiting factor, plan for a partial replacement rather than oversizing the whole system.
Mixed solutions: replacing some radiators or adding suitable emitters
Mixed solutions work well. Replace undersized radiators with larger-surface models, add fan coil units, or create a small underfloor heating loop in a key zone. Goal: run the heat pump at low temperature as much as possible without losing comfort.
Settings and commissioning in 2026: getting comfort without blowing up the bill
Minimum flow temperature: the golden rule for a high-performing heat pump
On a heat pump, the priority is simple. Set the flow temperature as low as possible while keeping comfort. The higher it is, the more consumption climbs. Rely on the heating curve and a gradual ramp-up. Aim for stable operation, without swings, to avoid short cycling that wears out the compressor.
Balancing and thermostatic valves: securing operation
Before fine-tuning, ensure good balancing of the network. Purging, flow rates, evenly warm radiators. During calibration, leave the thermostatic valves open, then adjust room by room. Keep one reference room without heavy restriction so the controls measure accurately.
Maintenance and checks: points to verify to maintain performance over time
A well-tuned heat pump stays efficient if you monitor it at least minimally.
- Cleaning the filters and clearing the outdoor unit.
- Checking pressures, temperatures, and controller error codes.
- Circuit water quality and checking valves and circulators.
- Refrigerant leak-tightness check when required.