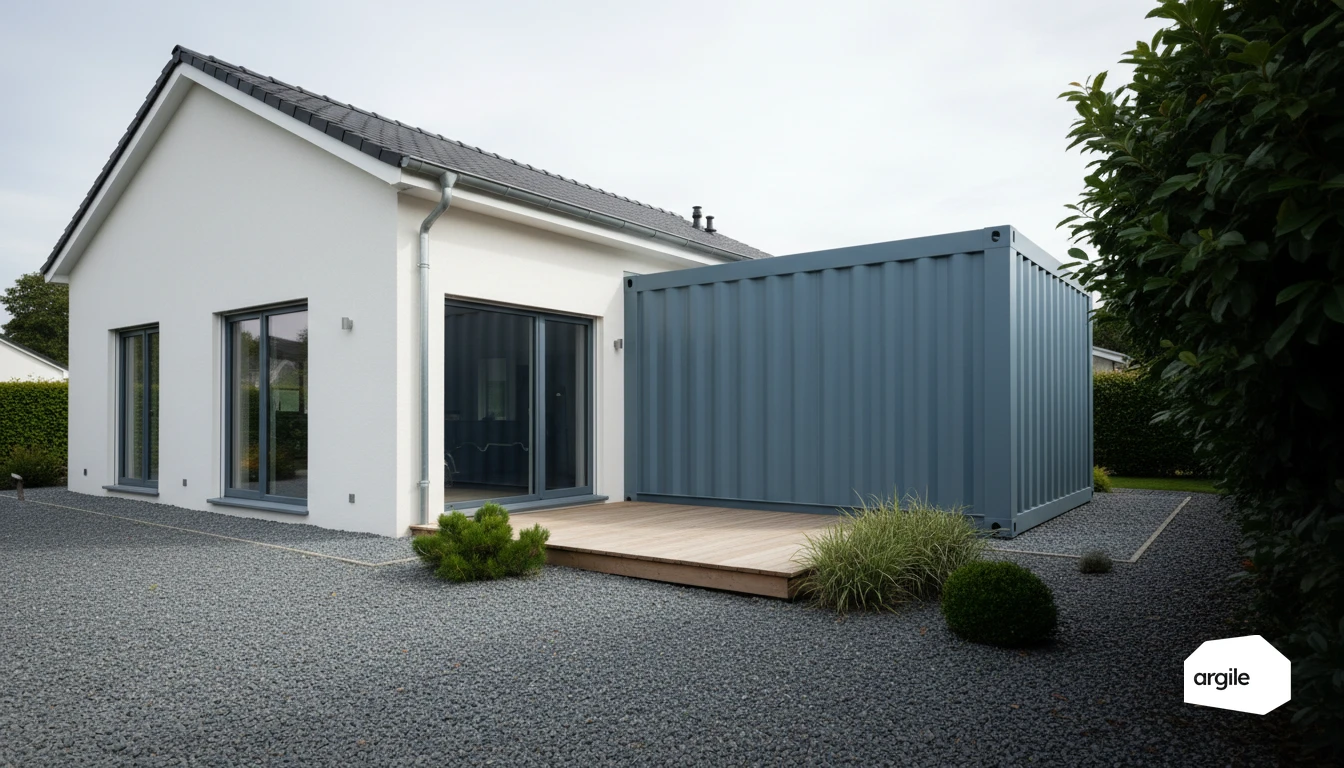
Understanding the basics of container construction before insulating
Choosing the right type of container (shipping, new, used) and checking the sheet metal's condition
A "one trip" shipping container (nearly new) limits unpleasant surprises. A used model can work, if you confirm the sheet metal is sound and structurally straight. Inspect for corrosion, dents, welds, corners, and the floor (odors, moisture traces). Also check for the CSC plate and the consistency of the planned cutouts, since every opening weakens the box if it isn't reinforced.
Managing thermal bridges from the design stage: framing, floor, roof, and openings
Steel conducts heat like a radiator in reverse. If the interior framing touches the container's skin, you create thermal bridges. Aim for continuous insulation at the floor-wall-roof junctions, and treat window and door frames with thermal breaks and insulated reveals. The right instinct is to draw out the details before choosing the insulation.
Planning ahead for airtightness and ventilation to avoid condensation
In a container, water vapour seeks out the cold sheet metal. Without continuous airtightness and vapour management, condensation appears quickly behind the linings. Plan for a suitable vapour retarder, sealed penetrations, and properly sized ventilation. The goal is controlled airflow, otherwise moisture creeps in and the insulation loses its point.
Insulating a container house: high-performance solutions for job-site constraints
Interior insulation: simple installation, loss of floor space, and points to watch
In a container, internal insulation is often the fastest option. You build a frame, install the insulation, then a facing. In exchange, you lose square metres. Key point: treat the metal thermal bridges and secure airtightness. A well-installed vapour retarder limits condensation, paired with suitable ventilation.
Exterior insulation: continuity of the insulation, finishes, and budget impact
External insulation wraps the sheet metal and cuts thermal bridges more effectively. It's often the safest route for stable performance. You need to plan for a substrate, a breather membrane, then compatible cladding or render. Expect more labor and more detailing. Around openings, pay careful attention to insulation returns. On the pricing side, external insulation runs from the facade measurement to the quote, with insulant and finish picked from an up-to-date catalogue.
Roof, floor, and windows: treating the sensitive zones for overall performance
The roof heats up fast in the sun. Continuous insulation and a ventilated air gap under the roofing make a real difference. On the floor, avoid direct metal-to-concrete contact and insulate from underneath if possible. Finally, high-performance windows installed with sealing tape prevent leaks, just like a poorly closed window in winter.
Summer comfort and moisture: achieving durable insulation for a container
Limiting overheating: solar protection, thermal mass, material choices, and ventilation
A container heats up fast. Priority goes to solar protection on the outside. Overhangs, blinds, sun shades, a light colour, greenery if possible. Indoors, favour insulation materials that slow down heat transfer (cellulose wadding, wood fibre) and add a bit of thermal mass with a heavier lining. Finally, plan for effective ventilation and, if possible, nighttime airing.
Managing water vapour: vapour barrier, vapour retarder, and controlling corrosion risk
Steel sheet metal is cold and airtight. If vapour gets trapped in the wrong place, condensation and corrosion appear quickly. Aim for a continuous airtightness layer, and choose a vapour barrier or a vapour retarder depending on the assembly, with a service cavity to limit penetrations. Also treat runoff points and protect the steel (anticorrosion primer).
Ensuring installation quality: sealing, junctions, on-site checks
Problems often come down to the details. Take care with sealing, tapes, wall-roof junctions, and window/door connections. Every penetration (duct, outlet, light fixture) needs to be sealed. Run simple on-site checks: visual inspection, smoke test, or thermal camera before closing up. You secure performance year-round.
Rules, aid schemes, and 2026 requirements: securing your container house job site
Regulatory framework and documents to prepare: permits, fire safety, compliance with local rules
A container house remains new construction. Before starting, sort out the administrative side with the town hall. Check the local zoning plan (PLU), rules on exterior appearance, siting, and drainage. Depending on the project, a permit may be required. On the fire safety side, plan ahead for fire brigade access, the choice of insulation and facings, and keep the certificates and material data sheets.
RGE, MaPrimeRénov', and CEE: how to position container insulation in 2026
In 2026, to access MaPrimeRénov' and most CEE premiums, the job needs to go through an RGE-certified company and properly framed work. On a container, the challenge is insulation continuity and moisture control. Think thermal bridges, vapour barrier, and usable thickness. Prepare detailed quotes and product references to stay eligible. To avoid administrative roadblocks, also see how to avoid MaPrimeRénov' file rejections.
Tests and proof of performance: airtightness measurement and product traceability
To prove performance, plan for an airtightness measurement at the end of the work, especially if you're aiming for an RE2020 certificate. Also keep traceability records: technical data sheets, certificates (ACERMI if available), declarations of performance, batch numbers, photos of key steps. This is your safety net in case of an audit or a warranty callback.
Job-site method: a clear process for effective container insulation
Diagnosis and surveys: identifying weak points (cutouts, welds, fixings) before starting
Before insulating a container, do a full walkthrough. Look for rust areas, micro-gaps around cutouts and openings, and through-fixings. Note the metal bridges, floor and roof contact points, and any condensation traces. Record the useful dimensions to limit penetrations and keep the insulation continuous.
Phasing the work: from anticorrosion treatment to interior/exterior finishes
Start with local stripping and anticorrosion treatment. Then install the framing and insulation as continuously as possible, followed by a vapour retarder on the interior side with careful airtightness. Plan for suitable ventilation. Finish with the facings and finishes, without forgetting the exterior cladding and sealing joints.
Tradesperson checklist: common mistakes and good practices to avoid rework
- Insulation glued onto damp metal. Dry it, treat it, then insulate.
- Break in continuity at the corners. Take care with thermal bridges.
- Vapour retarder punctured by services. Group the penetrations and seal them.
- Untreated through-fixings. Limit them or use thermal breaks.