Diagnosing your outdoor pipework before insulating
Spotting sensitive points: freezing, UV, impacts, and moisture
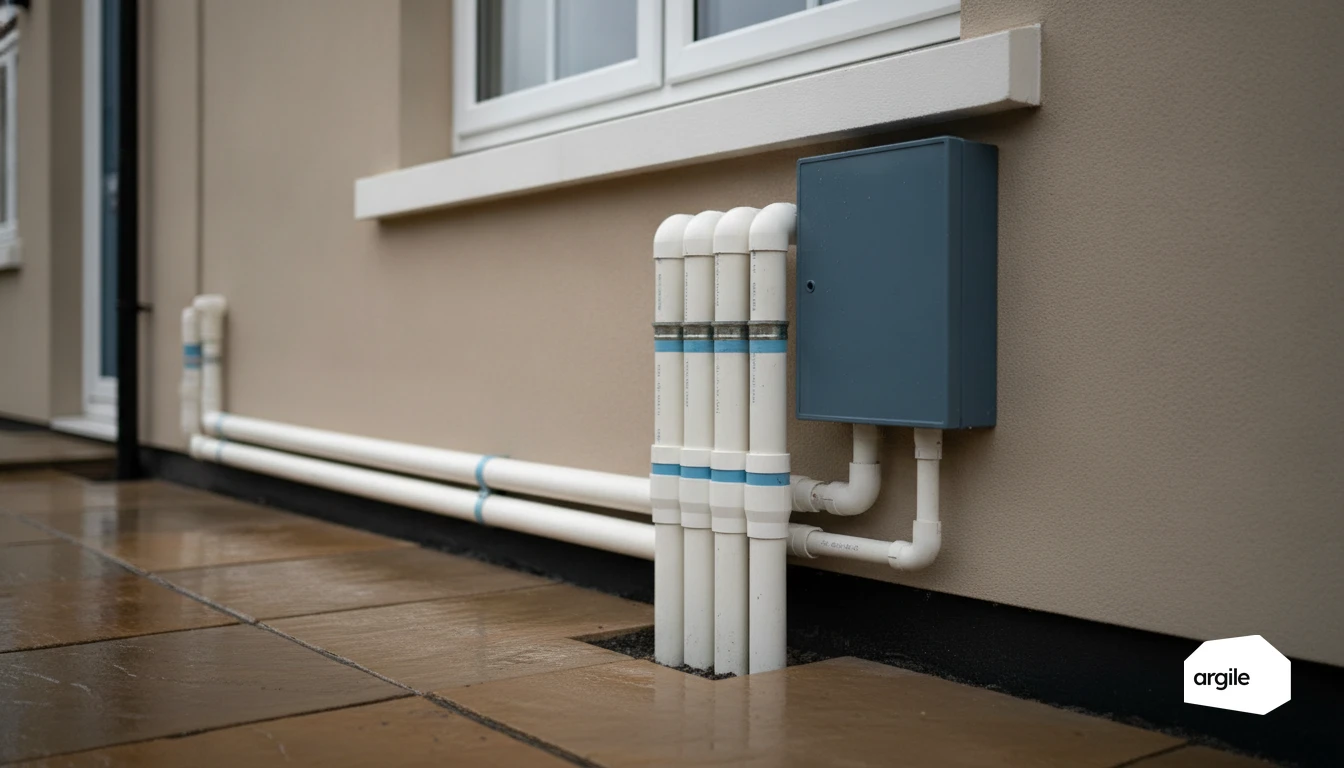
Before adding insulation, walk the outdoor pipework. Identify the zones exposed to freeze risk (north-facing facade, air passages, sections outside the heated volume), those in full sun where sleeves age faster, and the sections at passage height that take knocks. Also note the damp points (runoff, condensation), since water and insulation rarely mix well.
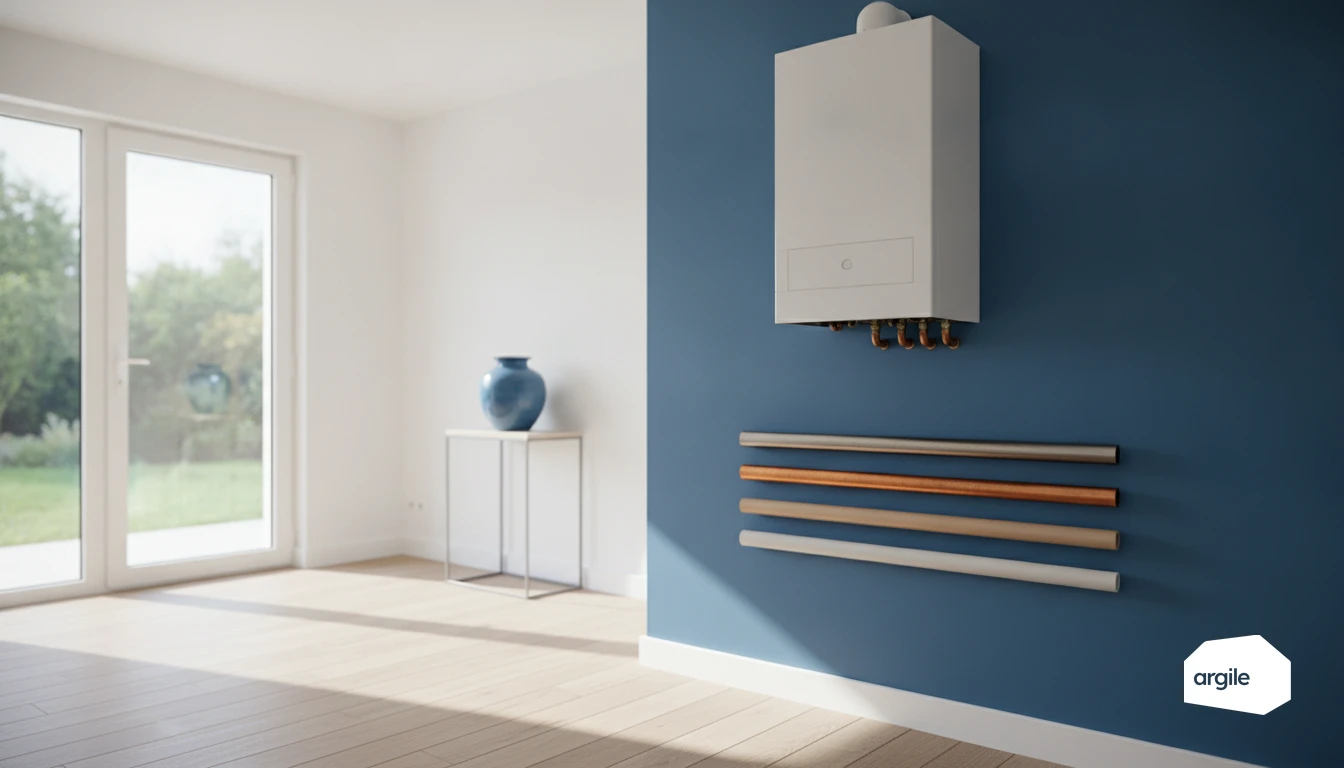
Identifying the type of pipe: copper, steel, PVC, multilayer
The material changes everything. Copper and steel dissipate heat quickly, so losses and freezing show up sooner if the insulation is discontinuous. PVC and multilayer pipe are more sensitive to UV and certain temperatures. Plan for UV protection and check that the adhesives, sleeves, and foams are compatible with your network.
Checking the substrate's condition: corrosion, leaks, fixings, and slope
Before enclosing the pipe, check for corrosion, pitting, weeping at the fittings, and the condition of the clamps. A hidden leak under the insulation can degrade the substrate and complicate maintenance. On drains, check the slope and the absence of reverse gradients. Repair and refix first. Insulate second.
Choosing insulation suited to outdoor conditions
Comparing pipe insulation: elastomeric foam, polyethylene, mineral wool with a shell
For outdoor pipework, elastomeric foam is often the right compromise for both cold and hot lines, with simple installation and joints that need care. Polyethylene suits less demanding networks, but it ages faster if UV and impacts aren't controlled. Mineral wool with a shell holds up well against temperature and fire, but it requires perfect protection from water to avoid losing performance.
Selecting the thickness: limiting losses and preventing freezing based on exposure
Thickness is chosen based on the fluid temperature, the diameter, the wind, and the duration of cold exposure. On an exposed line, aim for insulation continuity at the elbows, valves, and flanges. That's where freezing sets in. Follow the manufacturers' charts and product rules, it's your first line of defence against losses.
Planning the finishing protection: UV shield, sheet metal, sleeve, and sealed coating
Without a finish, the insulation degrades. Outdoors, plan for a UV shield, aluminium or stainless sheet metal, or a rigid sleeve. Add a sealed coating and bonded or crimped junctions. The goal is simple: block water, protect against impacts, keep the insulation dry all year round.
Achieving durable insulation on exposed pipework
Preparing the surface: cleaning, anti-corrosion treatment, and drying
On exposed pipework, long-term durability is decided before installation. Brush and dust off, then degrease. If corrosion is present, strip back to sound metal and apply an anti-corrosion primer compatible with the insulation. Leave a dry, clean surface. Otherwise, moisture stays trapped and speeds up rust under the lagging.
Installing sleeves and shells: clean cuts, bonded joints, insulation continuity
Choose sleeves or shells suited to the network's temperatures. Make 90° cuts, without compressing the insulation. Bond the joints or close them with a tape designed for the application. Aim for continuity along the full length, with no gaps or thermal bridges. On a cold network, take care with the vapour barrier and its overlaps.
Treating tricky junctions: elbows, valves, supports, wall penetrations
Losses and damage often occur at the details. Use preformed pieces, or sector cuts, for the elbows. Plan for removable covers on valves. At the supports, avoid crushing with insulating spacers. At penetrations, ensure sealing and UV or mechanical protection (casing, sheet metal, PVC) if the exposure requires it.
Securing sealing and long-term durability outdoors
Avoiding water entry: connections, overlaps, tapes, and compatible sealants
Reinforcing mechanical strength: clamps, rigid shells, impact protection
Planning maintenance: annual check, local repairs, replacement of damaged sections
Showcasing the job in 2026: compliance, subsidies, and the client pitch
Recapping the benefits: savings, comfort, protection against freezing and condensation
Beyond lowering the bill, well-insulated pipework limits heat loss, stabilizes temperature, and reduces the risk of freezing and condensation. You're mainly selling lasting comfort and fewer breakdowns.
Fitting it into a comprehensive renovation: pipe lagging, network insulation, and balancing
Present the work as one building block within a coherent whole: pipe lagging, insulation of tricky junctions, heating adjustments and balancing. This is often where the fastest gains hide, with available subsidies depending on the case. Pipe lagging and other ancillary works are added to the quote from a library of work items, in the same work plan.
Highlighting your proof of quality: photos, product data sheets, traceability, and best practices
To reassure the client, show before/after photos, the product data sheets, the installed thicknesses, and batch traceability. With a rigorous approach, you also make it easier to put together funding files, which software for RGE plumbers prepares alongside the quotation, and avoid audit pushback.