Define your insulation target without losing too much ceiling height
Understanding the link between performance (R) and ceiling height loss
With an insulated false ceiling, the rule is simple. The higher the target R-value, the thicker the insulation needs to be (R = thickness / λ). For the same performance, a lower λ (PIR, phenolic foam) limits height loss, but requires careful air tightness and perimeter continuity. Argile’s thermal resistance calculator stacks the layers and gives you the wall’s R and U-values.
| Target R | Insulation thickness, λ 0.022 (mm) | Insulation thickness, λ 0.035 (mm) |
|---|---|---|
| 3.7 | 81 | 130 |
| 4.5 | 99 | 158 |
| 6.0 | 132 | 210 |
Identifying when an insulated suspended ceiling makes sense (upper floor, storey, attic)
It makes sense when access from above is impossible or risky. Upper floor beneath roof space that cannot be converted, with the existing floor left in place. Beneath a concrete slab on a flat roof without any waterproofing works. On a heated floor above a heated space, the benefit is mainly acoustic, not thermal.
Checking residential height regulations before starting work (a trap to avoid)
Before pricing, measure the existing ceiling height and the projected height, including the framing and lining. The trap is making a room fail the habitability criterion based on height and volume.
| Criterion | Threshold |
|---|---|
| Height counted for habitable floor area | 2.20 m |
| Alternative habitability criterion via habitable volume | 20 m³ |
Lost thickness according to target R-value: practical benchmarks for insulating a false ceiling
2026 benchmark table: typical insulation thickness to achieve R=3, R=5, R=7 (by material)
| Material (typical λ) | Target R | Insulation thickness (mm) |
|---|---|---|
| Mineral wool (0.035) | 3 | 105 |
| Mineral wool (0.035) | 5 | 175 |
| Mineral wool (0.035) | 7 | 245 |
| Cellulose wadding (0.040) | 3 | 120 |
| Cellulose wadding (0.040) | 5 | 200 |
| Cellulose wadding (0.040) | 7 | 280 |
| PIR/PUR (0.023) | 3 | 70 |
| PIR/PUR (0.023) | 5 | 115 |
| PIR/PUR (0.023) | 7 | 160 |
Simple rule for an insulated false ceiling: e = R × λ. Start from the declared λ (ACERMI or DoP), then adjust to the available thickness. To go further, see how to calculate the thickness for a target R-value.
What adds to the insulation: framing, hangers, furring channels and lining (the “actual” loss)
| Component | Typical added thickness (mm) |
|---|---|
| BA13 plasterboard | 13 |
| Furring channel (F47 type) | 47 |
| Allowance for adjustment, levelling, service runs | 10 to 40 |
In practice, the “actual” loss is calculated as insulation + framing + lining. Setting the hangers accurately helps avoid losing “free” centimetres, especially in renovation.
Adjusting thickness to the available space: why reducing thickness can sharply reduce performance
If you move from R=5 to R=3, you mechanically lose 40% of resistance. If you have to choose, reduce unnecessary voids first (plenum, adjustments), then change the λ value. And keep an eye on the finished height. Dropping below 2.20 m can take the room outside habitability criteria. Also pay attention to the perimeter thermal bridge, with insulation continuity at the wall junction.
Which solutions use the least height: choice of insulation materials and systems
Low-thickness solutions: rigid ceiling boards (PIR/PUR, high-density rock wool) and site limitations
| Solution | Declared lambda (W/m.K) | Thickness for R = 4 (mm) |
|---|---|---|
| PIR/PUR | 0.022 | 88 |
| High-density rock wool | 0.035 | 140 |
With direct bonding or on a very shallow frame, PIR/PUR remains the most compact option. Keep in mind fire reaction requirements, flatness and joint treatment. If the substrate is uneven, you quickly lose the “low thickness” advantage. Flatness and continuity are what deliver results.
Insulated suspended ceiling solutions: mineral wool in the plenum, hangers, membranes (pros/cons)
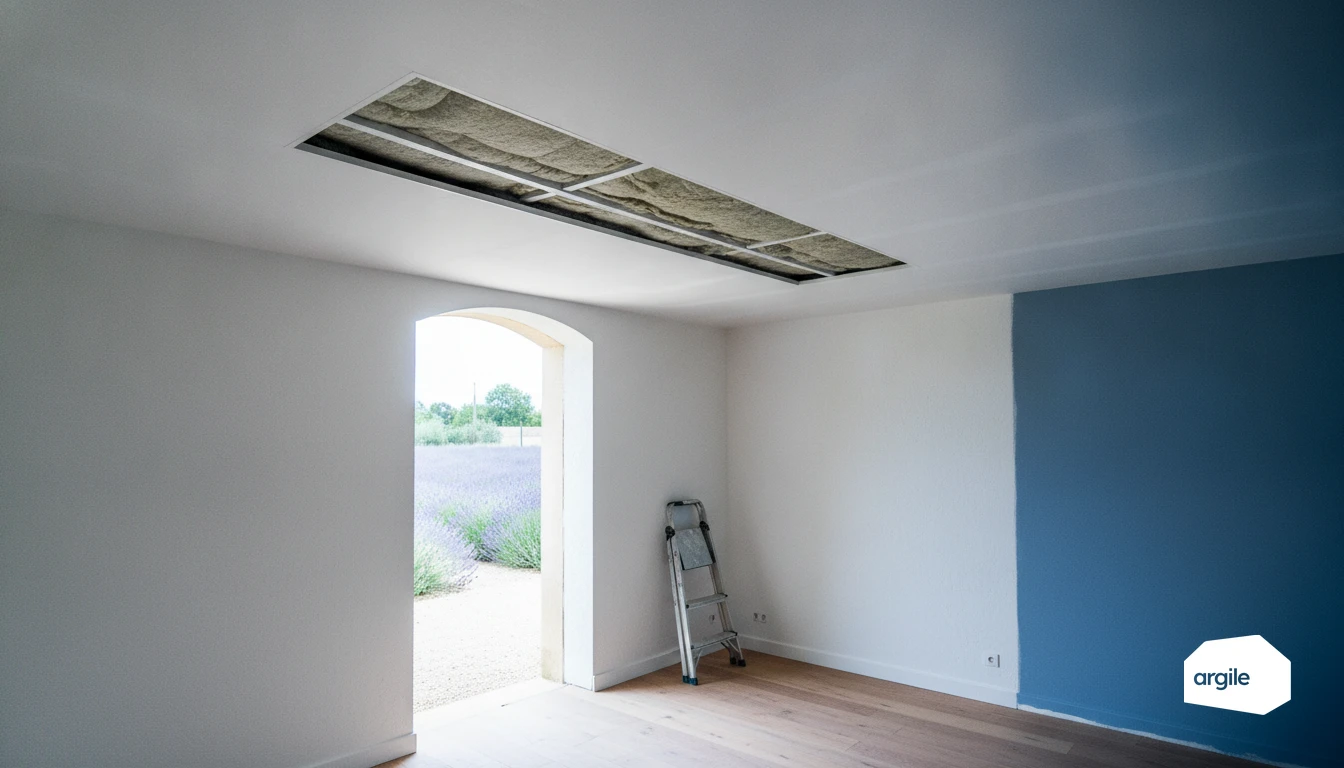
In an insulated false ceiling, the suspended ceiling easily absorbs substrate irregularities and allows a continuous layer of mineral wool. It also helps acoustically and makes space for services. The downside is the height loss caused by the plenum and hangers, often more significant than the insulation itself. Airtightness and perimeter supports should be planned at the setting-out stage.
Special cases: service runs, downlights, ducts and vapour barrier management in ceilings
Plan for a dedicated service void so you do not puncture the membrane. For downlights, provide caps and safety clearances. For ducts and penetrations, use compatible sleeves, tapes and collars. Check the remaining height to stay within the criteria for habitable accommodation (minimum height or volume). Vapour barrier on the warm side, continuous, and inspectable.
Perimeter thermal bridges: treating the edges to avoid heat loss and condensation
Identifying sensitive areas: ceiling/wall junction, cornices, boxing, joist ends
With an insulated false ceiling, the perimeter edge quickly becomes the weak point. Identify insulation discontinuities, penetrations and changes in substrate. Prioritise these critical points.
- Ceiling/wall junction. Check for overlap, not a bare cut in the corner.
- Cornices and trim bands. Look for uncontrolled air gaps and missing returns.
- Boxing and access hatches. Check joints, membrane cuts and through-fixings.
- Joist ends. Track back-limited linings and exposed slab edges.
Treatment methods: insulation upturns, thermal breaks, continuity of the vapour barrier/airtight layer
The remedy comes down to three actions. An insulation upturn around the perimeter, a thermal break where the geometry allows, and a vapour barrier or airtight membrane sealed to the wall with compatible mastic and tapes. Treat penetrations carefully, and provide airtight electrical boxes.
Site checks: smoke test, thermal camera, dew point (avoiding costly rework)
Before closing up, carry out an immediate check. Smoke test, and if possible a blower door test, to visualise perimeter leaks. Thermal camera with a sufficient ΔT. To assess condensation, record temperature and relative humidity, calculate the dew point, and check that the perimeter surface stays above it. Correct issues straight away. Fixing them after finishing blows the programme.
Jobsite decision method: balancing performance, height and compliance without getting it wrong
Pre-quote checklist: existing height, targets, regulatory constraints, special details
On site, check
- Existing finished height and the remaining height targeted after the assembly.
- Target R-value and perimeter continuity (thermal bridge at edges, openings, cross walls).
- Services and special details (MVHR, ducts, hatches, downlights), spacing and type of hangers.
Example trade-offs: targeting R=5 versus R=7 depending on how the room is used and the available height
| R target (m²·K/W) | Typical insulation | λ (W/m·K) | Insulation thickness (mm) |
|---|---|---|---|
| 5 | PIR/PUR | 0.032 | 160 |
| 7 | PIR/PUR | 0.032 | 224 |
If the room is only heated intermittently and height is tight, R=5 limits the impact. For a living space, R=7 is defensible, but it often means revisiting the perimeter returns and airtightness, not just adding thickness.
What you can still fund in 2026 for insulation only (CEE) and when to switch to major renovation
In 2026, insulation-only work is mainly covered by the CEE incentive for the relevant sheet. MaPrimeRénov’ per measure no longer supports it. You switch to major renovation when the project is managed with support and aims for a gain of at least two energy classes, to secure the works plan and compliance. To estimate the amount, you can use a CEE calculator to work out your bonus before quoting.