Understanding the photovoltaic pergola: principle, uses and limits
The difference between a standard pergola and a photovoltaic pergola (roof, structure, use)
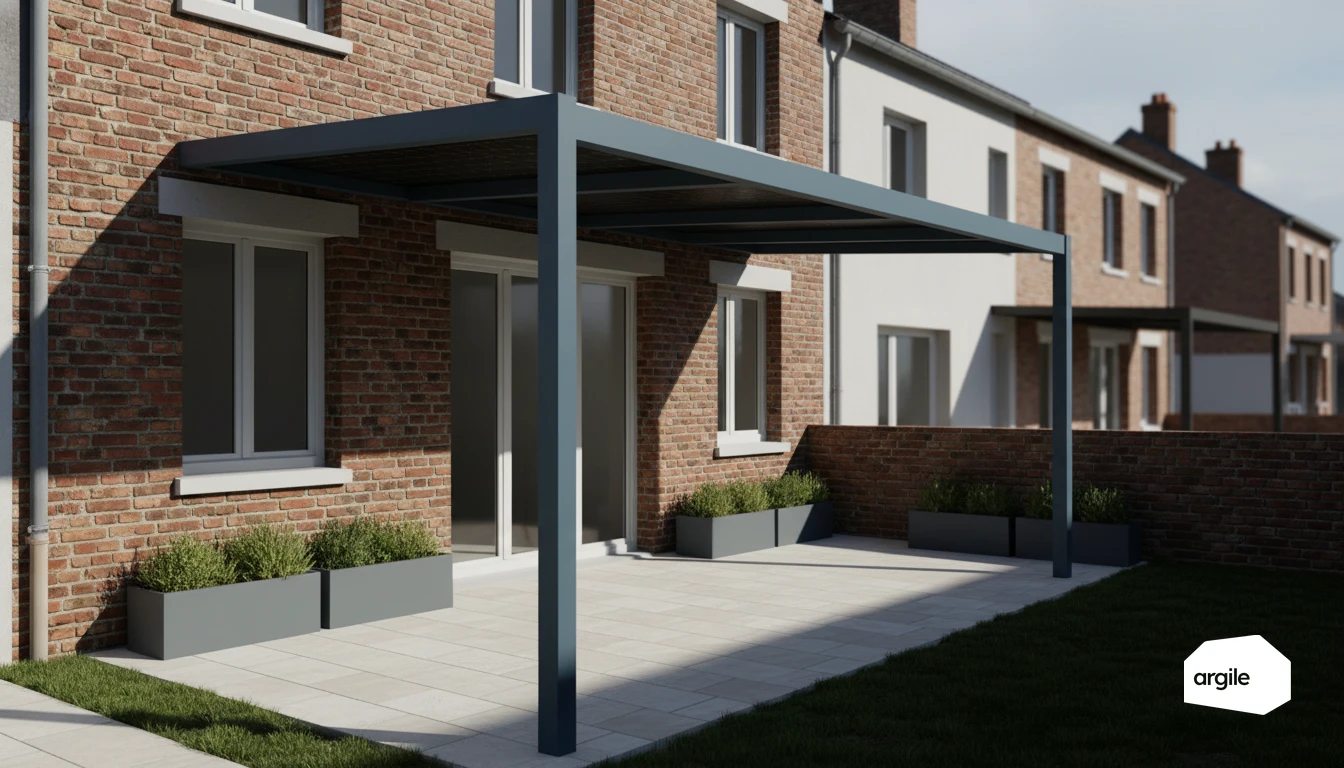
A standard pergola is mainly there to create shade, with adjustable louvers, a fabric cover or a lightweight roof. In its photovoltaic version, the roof becomes a power-generating roof made of solar modules. The structure is often reinforced, since it has to bear the weight of the panels and wind loads, and accommodate cable runs and the inverter or micro-inverters. In use, the client gains a sheltered outdoor space and a small power plant in self-consumption.
Generating electricity while creating shade: what the client really expects
The client comes for two things: summer comfort, and savings. A well-designed pergola provides useful shade and generates most of its output when the house is consuming power during the day. However, yield drops if the slope is shallow, the orientation is far from south, or shadows fall on it every afternoon. It's best to frame the promise around a realistic output estimate.
Points to watch on site: orientation, cast shadows, wind, waterproofing
Check the orientation, the available space, and cast shadows (trees, parapets, neighboring buildings). Pay close attention to anchoring and wind-load sizing. On the water side, plan for clear drainage and durable waterproofing at the fixing points. Finally, anticipate grid procedures and electrical compliance to avoid a solar project stalling at commissioning.
Sizing your pergola correctly: area, capacity and desired level of shading
Choosing the usable area: terrace, circulation, areas to shade
Start with the usable area. Measure the zone to be lived in under the pergola (table, seating, loungers), then leave room to move around without having to dodge posts. Also think about actual sun exposure. Shade that works well at noon may let light through later in the day depending on orientation and season.
Estimating photovoltaic capacity based on the modules and tilt
Peak capacity mainly depends on the number of modules. A "standard" panel is often around 400 to 500 Wp for roughly 1.7 to 2.2 m². Multiply by the available area. On the tilt side, a very flat roof produces less than an angle close to 30 to 35°, the optimum commonly used in France. On a pergola, a few degrees of slope are also enough for water runoff. The calculation is quicker to set out when output is estimated pitch by pitch from orientation and tilt, self consumption and export included.
Balancing shading and output: the impact of module spacing and panel type
The more tightly the panels are laid, the denser the comfort shading, and the higher the output per m². Conversely, gaps between modules or semi-transparent panels let softer light through but reduce installed capacity. Also watch out for shadows (trees, chimney, upper floor). With partial shading, micro-inverters or optimizers often limit the loss across the whole array.
Rules and procedures in 2026: planning, grid connection and electrical safety
Prior declaration, ABF and local constraints: anticipating to avoid delays
Before installing panels on a roof or a pergola, check the local zoning plan and subdivision rules. In many cases, a prior planning declaration is enough. As soon as the project changes ground coverage, height or appearance, the town hall may ask for a more complete file. In a protected sector (near a listed monument, heritage site), the ABF's opinion can be a condition for approval.
Self-consumption, grid injection and connection: the steps to plan with the client
Work out the scenario with the client together: self-consumption with no injection, or with surplus sale. Then prepare the Enedis grid connection: delivery point, capacity, diagram, inverter, insurance. Depending on the case, an agreement (no injection) or a connection contract (with injection) is added to the schedule, along with commissioning and a communicating meter.
Safety and compliance: electrical protections, grounding and good practice
On site, hold the line: suitable AC and DC protections, an accessible disconnect switch, clear labelling. Grounding of the structure and metal frames is non-negotiable. Add a surge arrester if the risk assessment calls for one. Finish with the required inspections and compliance certificate.
Incentives and profitability for a photovoltaic pergola: what's realistic in 2026
Feed-in tariff and purchase obligation: what can apply to a pergola
In 2026, a pergola with panels can sometimes fall under self-consumption with surplus sale. Since the decree of 5 June 2026, there is no longer an investment bonus: support is limited to a single feed-in tariff of €0.011/kWh (P+Q ≤ 100 kWp), indexed by 2% per year. The purchase obligation remains available if the project is connected and declared according to the rules, with a contract over the full duration.
VAT, warranties, insurance: securing the sale and the job
On VAT, the rate depends on the type of building and the capacity. To reassure the client, clearly state the equipment and installation warranties, and check your ten-year liability insurance and electrical compliance (Consuel) before commissioning.
How to present profitability without risky promises: output, shading, summer comfort
Present a realistic range. Output varies with orientation, shading and the pergola's angle. Also highlight shading and summer comfort, which are often visible from the very first summer, even though the financial payback depends on how it's used.
Field advice for tradespeople: selling, installing and maintaining a durable pergola
The arguments that land: comfort, protection, use value, aesthetics
To sell a pergola, stay concrete. Immediate comfort with a ventilated shaded area. UV and rain protection to extend the season. Use value, since it creates a genuine outdoor room. And on the aesthetic side, a well-proportioned model enhances the facade without weighing it down.
Installation and finishing: fixing, water drainage, discreet cable runs
Durability is decided at installation. Secure fixing to a load-bearing support, with suitable anchors and controlled clearances. Take care with water drainage (slope, gutters, discharge away from walls). For lighting or a solar option, run cables in UV-resistant, accessible conduit, and comply with NF C 15-100.
Maintenance and monitoring: cleaning, checking fixings, watching output
Offer an annual check-up. Simple maintenance with lukewarm soapy water, no abrasives, plus cleaning the drains. Check fasteners, seals and any unusual noises. If the pergola includes photovoltaics, monitor output via the inverter. A persistent drop usually signals fouling or a fault to address.