Spotting a window/wall thermal bridge on site
Recognizing the signs: discomfort, condensation, mold and joints failing
On site, a thermal bridge around a window is often visible before it's measured. A cold wall to the touch, a draft along the frame edge, a localized feeling of discomfort. Indoors, watch for condensation at the base of the glazing or on the reveals, black mold stains, blistering paint. Another practical sign: acrylic or silicone joints that crack, peel off or blacken quickly.
Diagnosing simply: smoke test, infrared thermometer, thermal camera
To make it objective, a smoke test shows air entry points around the perimeter, especially in windy weather. The infrared thermometer picks up a temperature drop on the reveal, sill or lintel. The thermal camera confirms the zone and its extent. Work, if possible, with a clear indoor/outdoor difference, with no direct sun on the façade, to avoid false positives.
Distinguishing the causes: tunnel, face-fixed and rebate installation, and wall condition
The cause changes with the installation method. In tunnel installation, uninsulated reveals or discontinuous sealing create a heat leak. In face-fixed installation, a break between insulation and joinery, or poorly fitted reveal linings, leaves a bridge. In rebate installation, insulation continuity is often the weak point. Add the wall condition: irregular substrate, cracks, degraded sill, crumbling render. All of this prevents a continuous, durable joint. For more on how different installation methods affect heat loss, see face-fixed, tunnel or rebate installation.
Understanding where the thermal bridge between window and wall comes from
The frame, the sill, the reveal: the zones that break the insulation
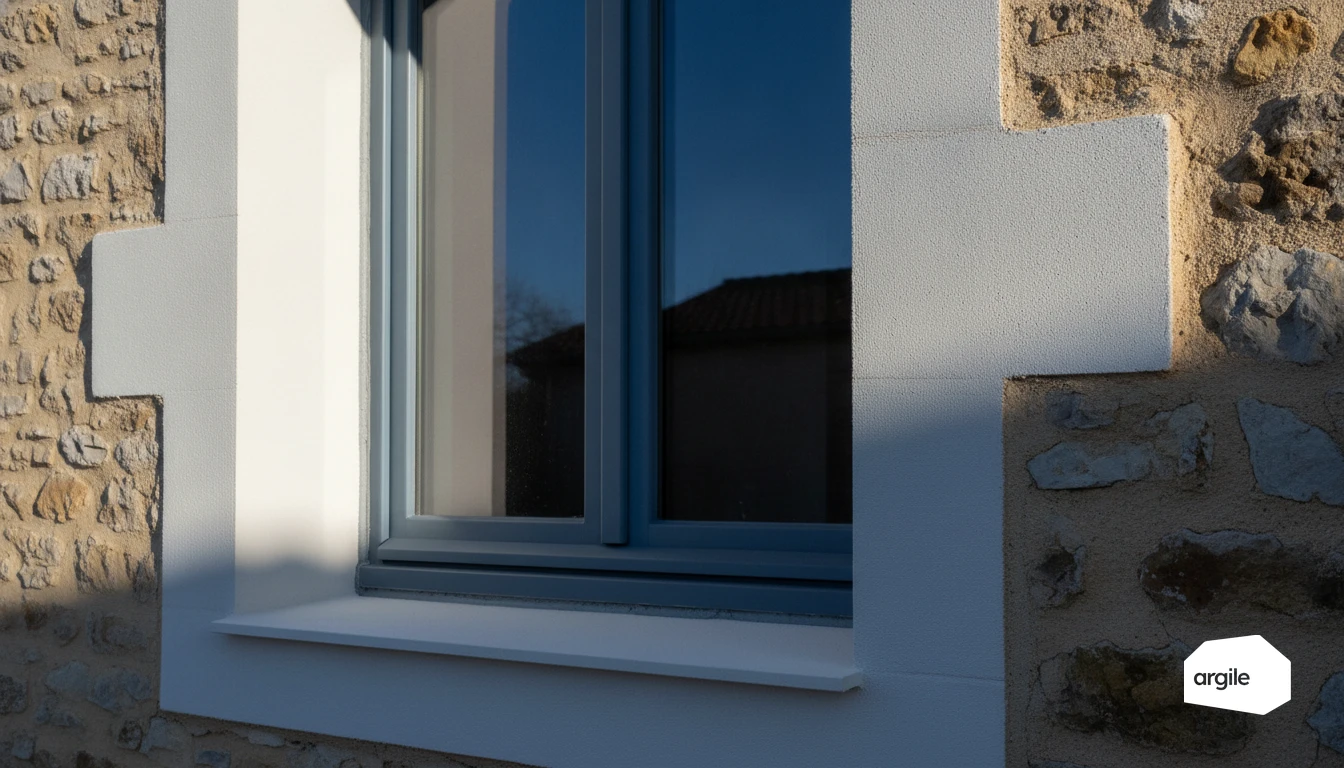
The thermal bridge often appears around the window, where the insulation is interrupted. The frame touches the masonry. The sill (under the bottom rail) is sometimes solid concrete. The reveal is the return of the wall. These three zones form a cold zone that lets heat escape and can create condensation.
Connections and materials: concrete, brick, timber frame, thermal breaks and insulation continuity
The level of thermal bridging depends on the substrate. Concrete conducts more than brick. In timber frame construction, the risk mainly comes from the studs and fixing components. The rule is simple: place the joinery as close as possible to the insulation plane and ensure insulation continuity on the reveal, with reveal linings, insulated sub-frames or thermal breaks suited to the system.
Airtightness vs. watertightness: what actually changes performance
A window can be watertight but still let air through. Air leaks increase losses and make the thermal bridge more significant. Aim for a continuous interior joint (membrane, sealant, tape) against parasitic air, and an exterior joint that drains water (flashing, compression sealing tape, drainage).
Treating the thermal bridge based on your installation configuration
In renovation with internal insulation: reveal linings, sub-frames and insulation returns at the reveal
With internal insulation, the thermal bridge plays out at the reveal. Plan for suitable reveal linings or a sub-frame to bring the joinery flush with the insulation. Add an insulation return of 20 to 30 mm around the frame if space allows, then carefully finish the airtightness with a continuous joint.
In renovation with external insulation: positioning the joinery within the insulation plane
With external insulation, you limit the thermal bridge by moving the window forward into the insulation plane, via a sub-frame, brackets or consoles. The goal is continuity between insulation, frame and sill. Also check water management, with a sill upstand, flashing and compatible sealing tapes.
Sensitive cases: sills, thresholds, roller shutter boxes and fixing penetrations
Sills and thresholds are cold zones. Choose components with a thermal break or add an insulated underside. For roller shutters, favor an insulated box connected to the insulation. Limit through-going metal fixings, or use insulating anchors and shims. For more on this, also see an insulated box and its treatment in renovation.
Implementing durable solutions: materials and practices that make the difference
Choosing the right products: compression sealing tape, membranes, foams, renders, tapes and sealants
For an installation that lasts, start with the right products. Compression sealing tape handles joinery movement. Membranes ensure airtightness and vapor management. Foams are useful for filling, not as a finish. Renders, tapes and sealants close the joints and limit the thermal bridge.
Achieving clean continuity: sealing, sill upstand, vapor barrier and rain barrier
Aim for a continuous line. Careful sealing on the reveal, a clean upstand under the sill. Fit the vapor barrier on the interior side and connect it to the membranes. Outside, the rain barrier protects without blocking drying. Floor, wall and roof connections are often the most sensitive.
Checking quality: airtightness tests, points to watch, and acceptance photos
Before closing up, run a simple check. Airtightness test where possible. Otherwise, smoke test and inspection. Watch outlets, hatches, partition bases, duct penetrations. Acceptance photos of each critical zone. That's your safety net. For more on the most common defects, also see typical air leaks.
2026 aid schemes and requirements: what to plan to stay compliant and sellable
RGE and best practices: evidence to keep (photos, technical sheets, reports) in 2026
In 2026, keep a clear job-site file. Photos before, during, after. Product references and technical data sheets. Acceptance reports and, if needed, commissioning records. Aim for dated, legible evidence.
MaPrimeRénov' and CEE: how a thermal bridge treatment fits into the file
The thermal bridge is often treated within the insulation work package. Show the item on the quote and invoice. Add the declared performance (e.g. R-value, thickness) and manufacturer certificates. For CEE, the sworn statement must match the work actually carried out.
Coordinating with the energy audit: priorities, phasing and non-compliance risks
With an audit, align the phasing. Insulation and airtightness, then ventilation, then heating. If you change the order, justify it, or you risk a blocked file or an unfavorable on-site inspection.
Key figures
3 to 5 cm
Min. insulation return
0.05 to 0.15 W/m·K
Ψ untreated
0.01 to 0.05 W/m·K
Ψ with insulation return
Frequently asked questions
Depending on the job, your client can benefit from MaPrimeRénov' (per work item) and CEE, often combinable with 5.5% VAT if the home is over 2 years old and the work improves performance. Always check eligibility: window Uw/Sw performance, detailed quote and compliance with CEE technical sheets, since simple sealing doesn't open the same rights as a full replacement.

Pierre-Louis Guhur
CEO of Argile